Create a PatternFly Element - PatternFly Elements
PatternFly Element generator
Before you begin, make sure you've followed the Prerequisites in Setup.
Then use the PatternFly Element generator to start the scaffolding process.
From the root directory of the PatternFly Elements repository, run the following command:
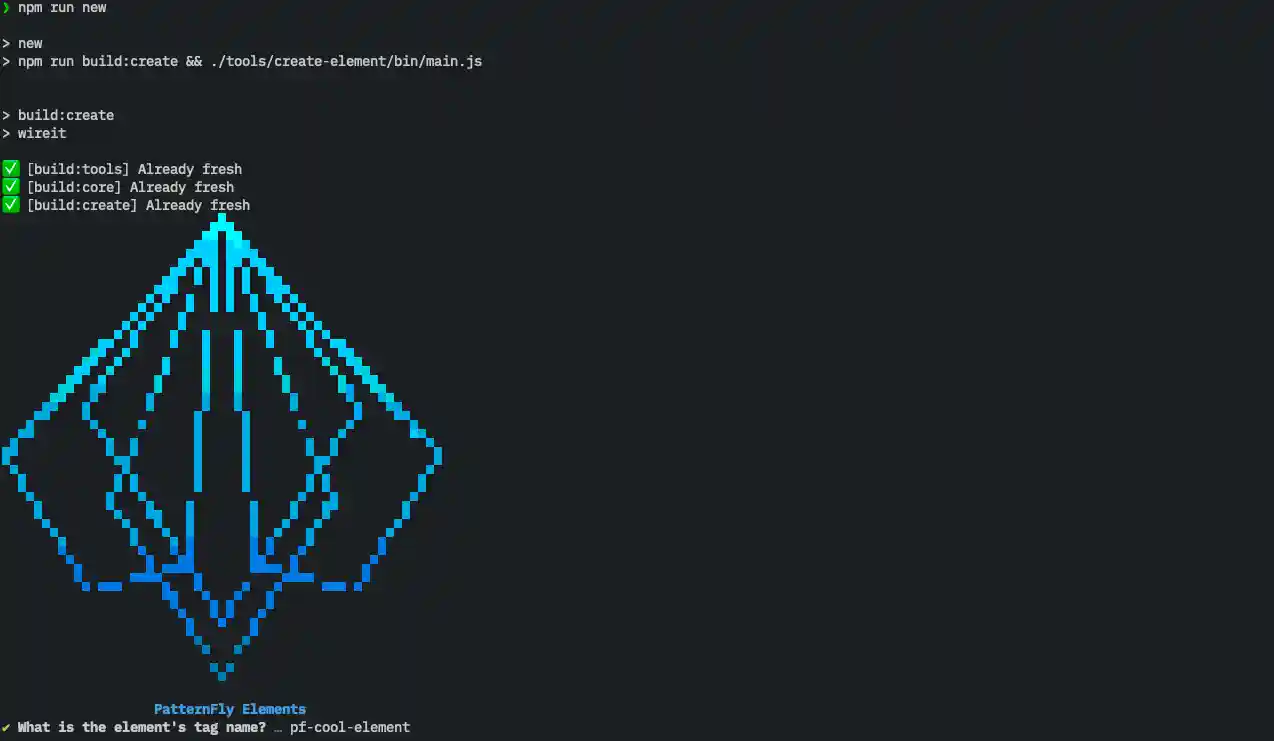
npm run newThe generator will then prompt you for the following:
- What is the element's tag name?
- Your element's name should be lowercase and needs to contain at least one hyphen. For rules on naming custom elements, refer to the W3C Custom Elements Working Draft.
- As an example, we'll create
pf-cool-element. - PatternFly Elements should be prefixed with
pf-. However, prefix your elements with whatever fits your project if you are using the generator outside of this project.
After answering, your new component will be created and bootstrapped in the repository.
Once that's done, switch directories to the element you just created. We'll
cd into the pf-cool-element directory.
cd elements/pf-cool-elementOpen your code editor to view the structure of the element. The element's source files are located directly in it's package root, in our case:
pf-cool-element.ts- The element class declarationpf-cool-element.css- The element's CSS style module
The demo directory contains an HTML partial that you can edit to provide an
interactive demo of your element.
The test directory contains unit test files for your element.
You'll also notice that the generator edited the root tsconfig.json, adding
a path to our new element.
This is important so that TypeScript knows where each of our packages in the
monorepo are.