Gui Streamlit OpenInterpreter
Are you tired of the hassle of running code and having to set up your envinronment for development? Say hello to GuiStreamlitOpenInterpreter, a game-changing project that's designed to help people that don't want to buy a montly suscription and desire to have the advantage of pay as they go to get a smooth experience. With a user-friendly graphical user interface (GUI) powered by Streamlit, you can effortlessly engage with Python, javascrip and others languages without the need for traditional coding to help out begginers.
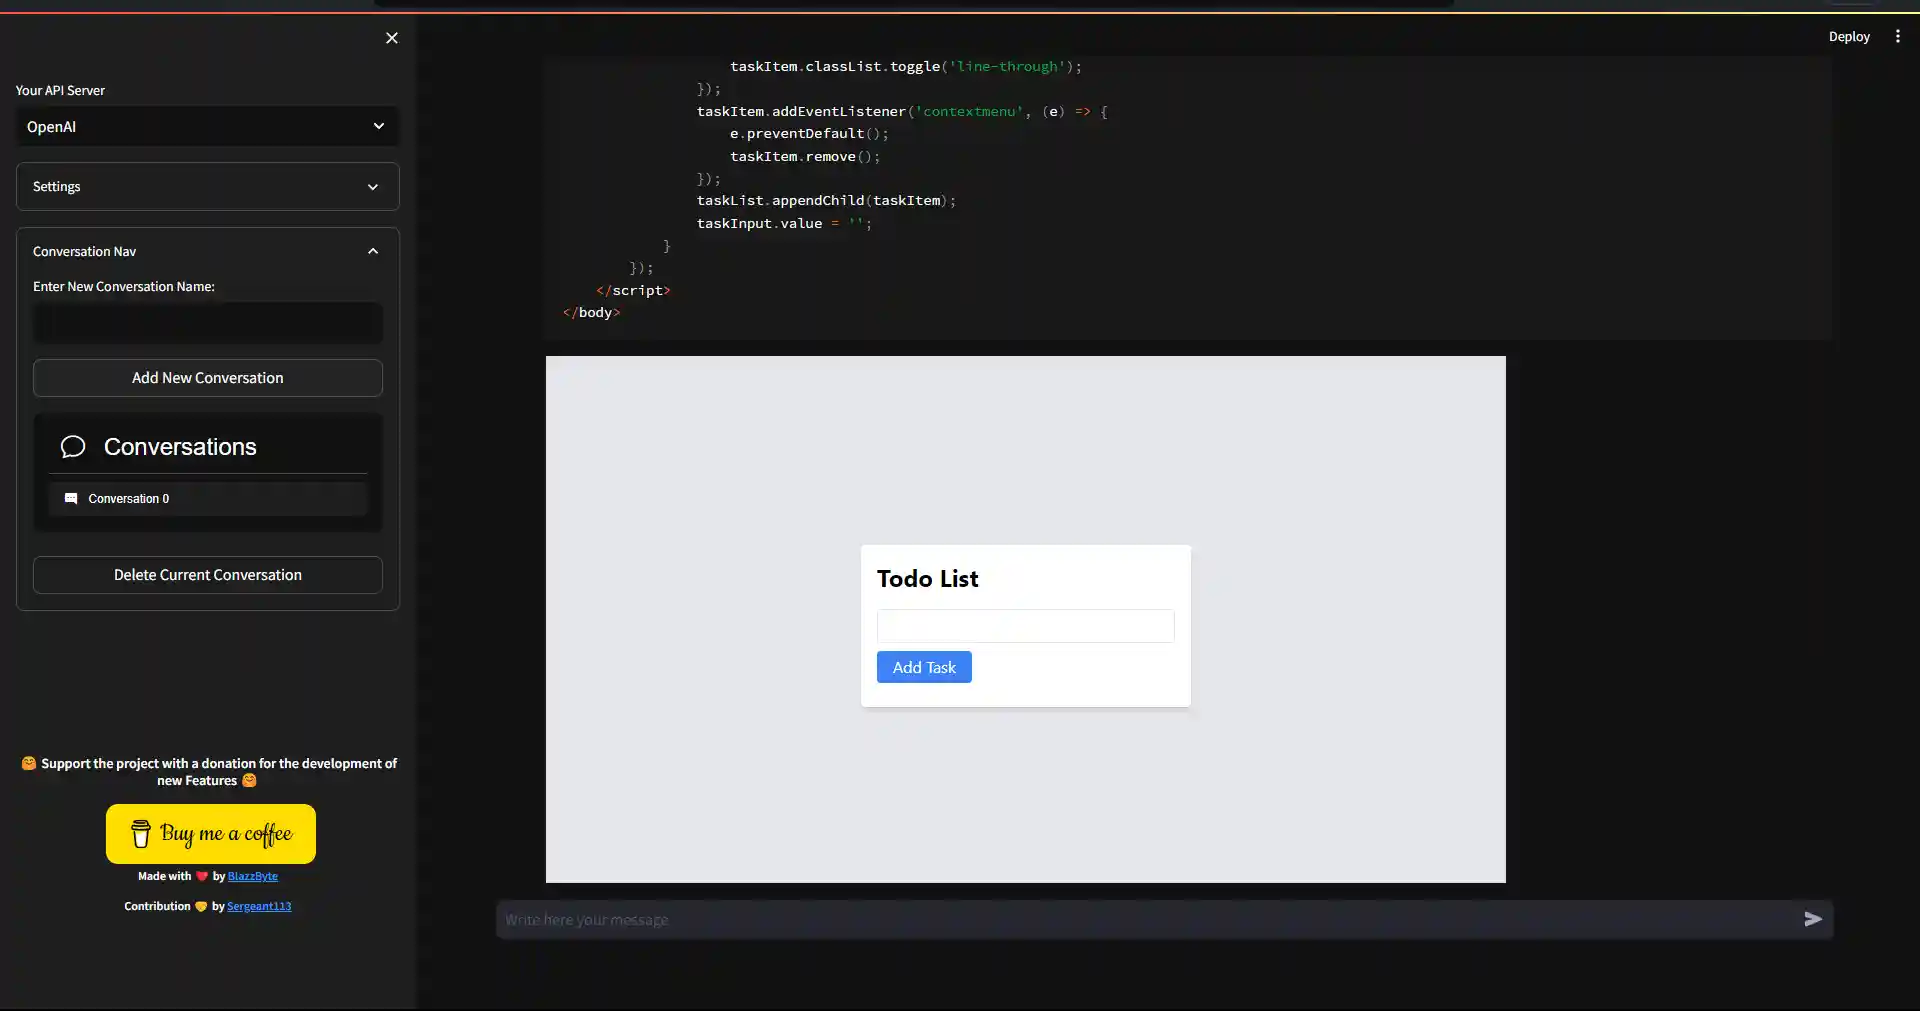
Table of Contents
Introduction
GuiStreamlitOpenInterpreter is a project aimed at simplifying the process of running code and interacting with OpenAI models through a graphical user interface (GUI). With Streamlit as the frontend framework, this tool provides an intuitive way to work with Python and OpenAI applications without needing to write code in a traditional coding environment.
Features
- User-friendly interface for running Python, java code and others.
- Integration with OpenAI applications for natural language processing and chatbot functionalities.
- Simplified execution of code and interaction with OpenAI models.
- Customizable and extensible for different use cases.
Getting Started
Prerequisites
Before you begin, ensure you have met the following requirements:
- Python (>= 3.10) installed on your system.
- Dependencies mentioned in the
requirements.txtfile.
Installation
-
Try it Online
- No need to insatall
-
Or Try it Locally
-
Clone this repository:
git clone https://github.com/blazzbyte/OpenInterpreterUI.git
-
Navigate to the project directory:
-
Install the required dependencies using pip:
pip install -r requirements.txt
-
Or Try it with Docker
Usage
- To run the OpenInterpreterUI, use the following command:
streamlit run app.py --server.port 8501
- Access the application in your web browser at http://localhost:8501.
- Use the GUI to execute Python code and interact with OpenAI applications.
Contributing
Contributions are welcome! If you'd like to contribute to this project, please follow these steps:
- Fork the repository.
- Create a new branch for your feature or bug fix.
- Make your changes and commit them with a clear commit message.
- Push your changes to your fork.
- Create a pull request to merge your changes into the main repository.
License
This project is licensed under the MIT License - see the LICENSE file for details.