感谢以下开源项目作者及参与者的无私奉献
技术栈
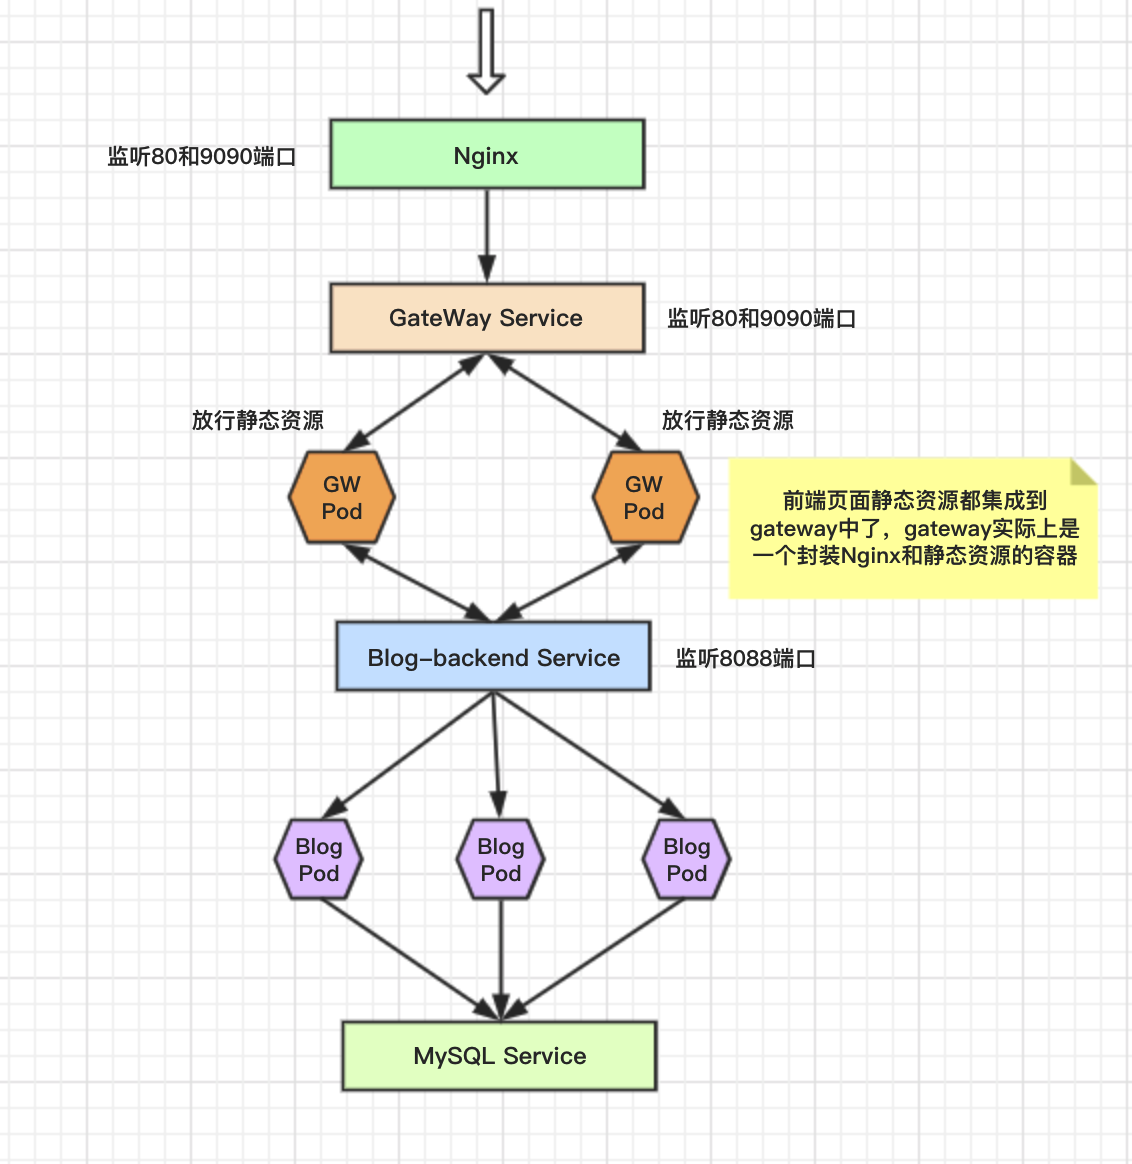
Vue.js + axios(ajax) + Beego Restful api + Mysql + Nginx 目前已经进行初步容器化,可在 k8s 集群上快速部署
项目介绍
效果图
- 暂时只迁移一篇文章
- 演示地址
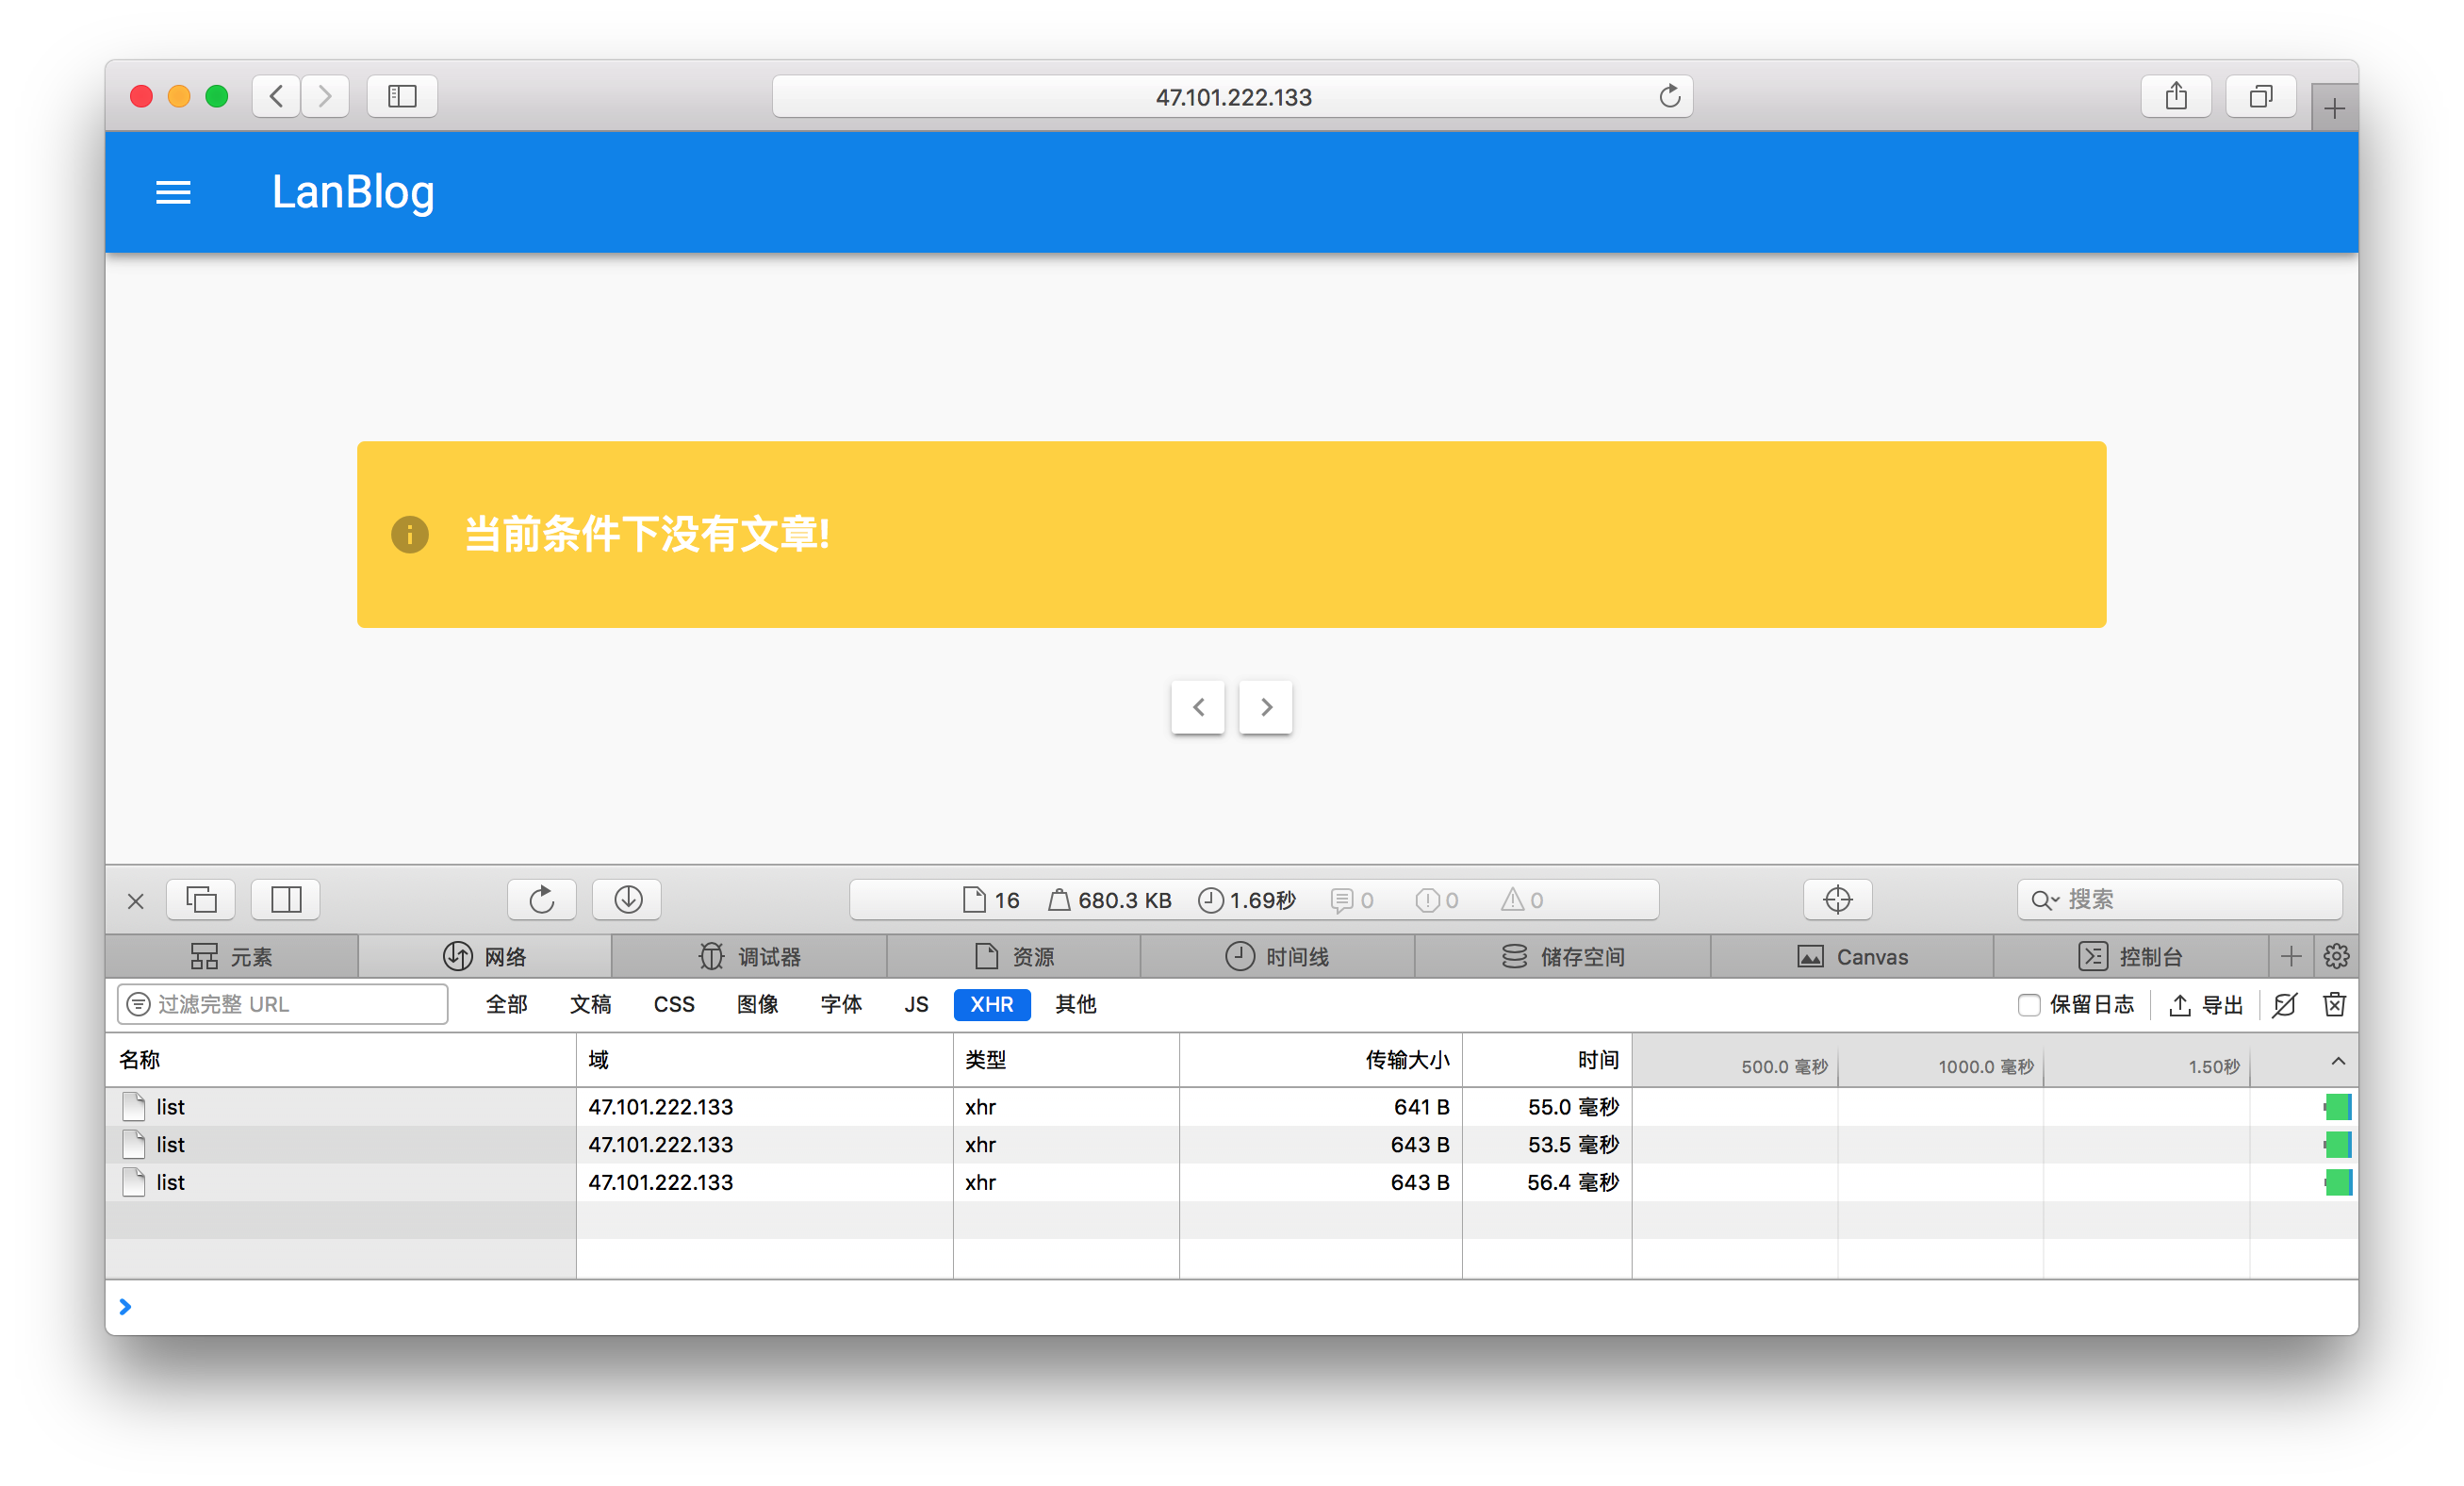
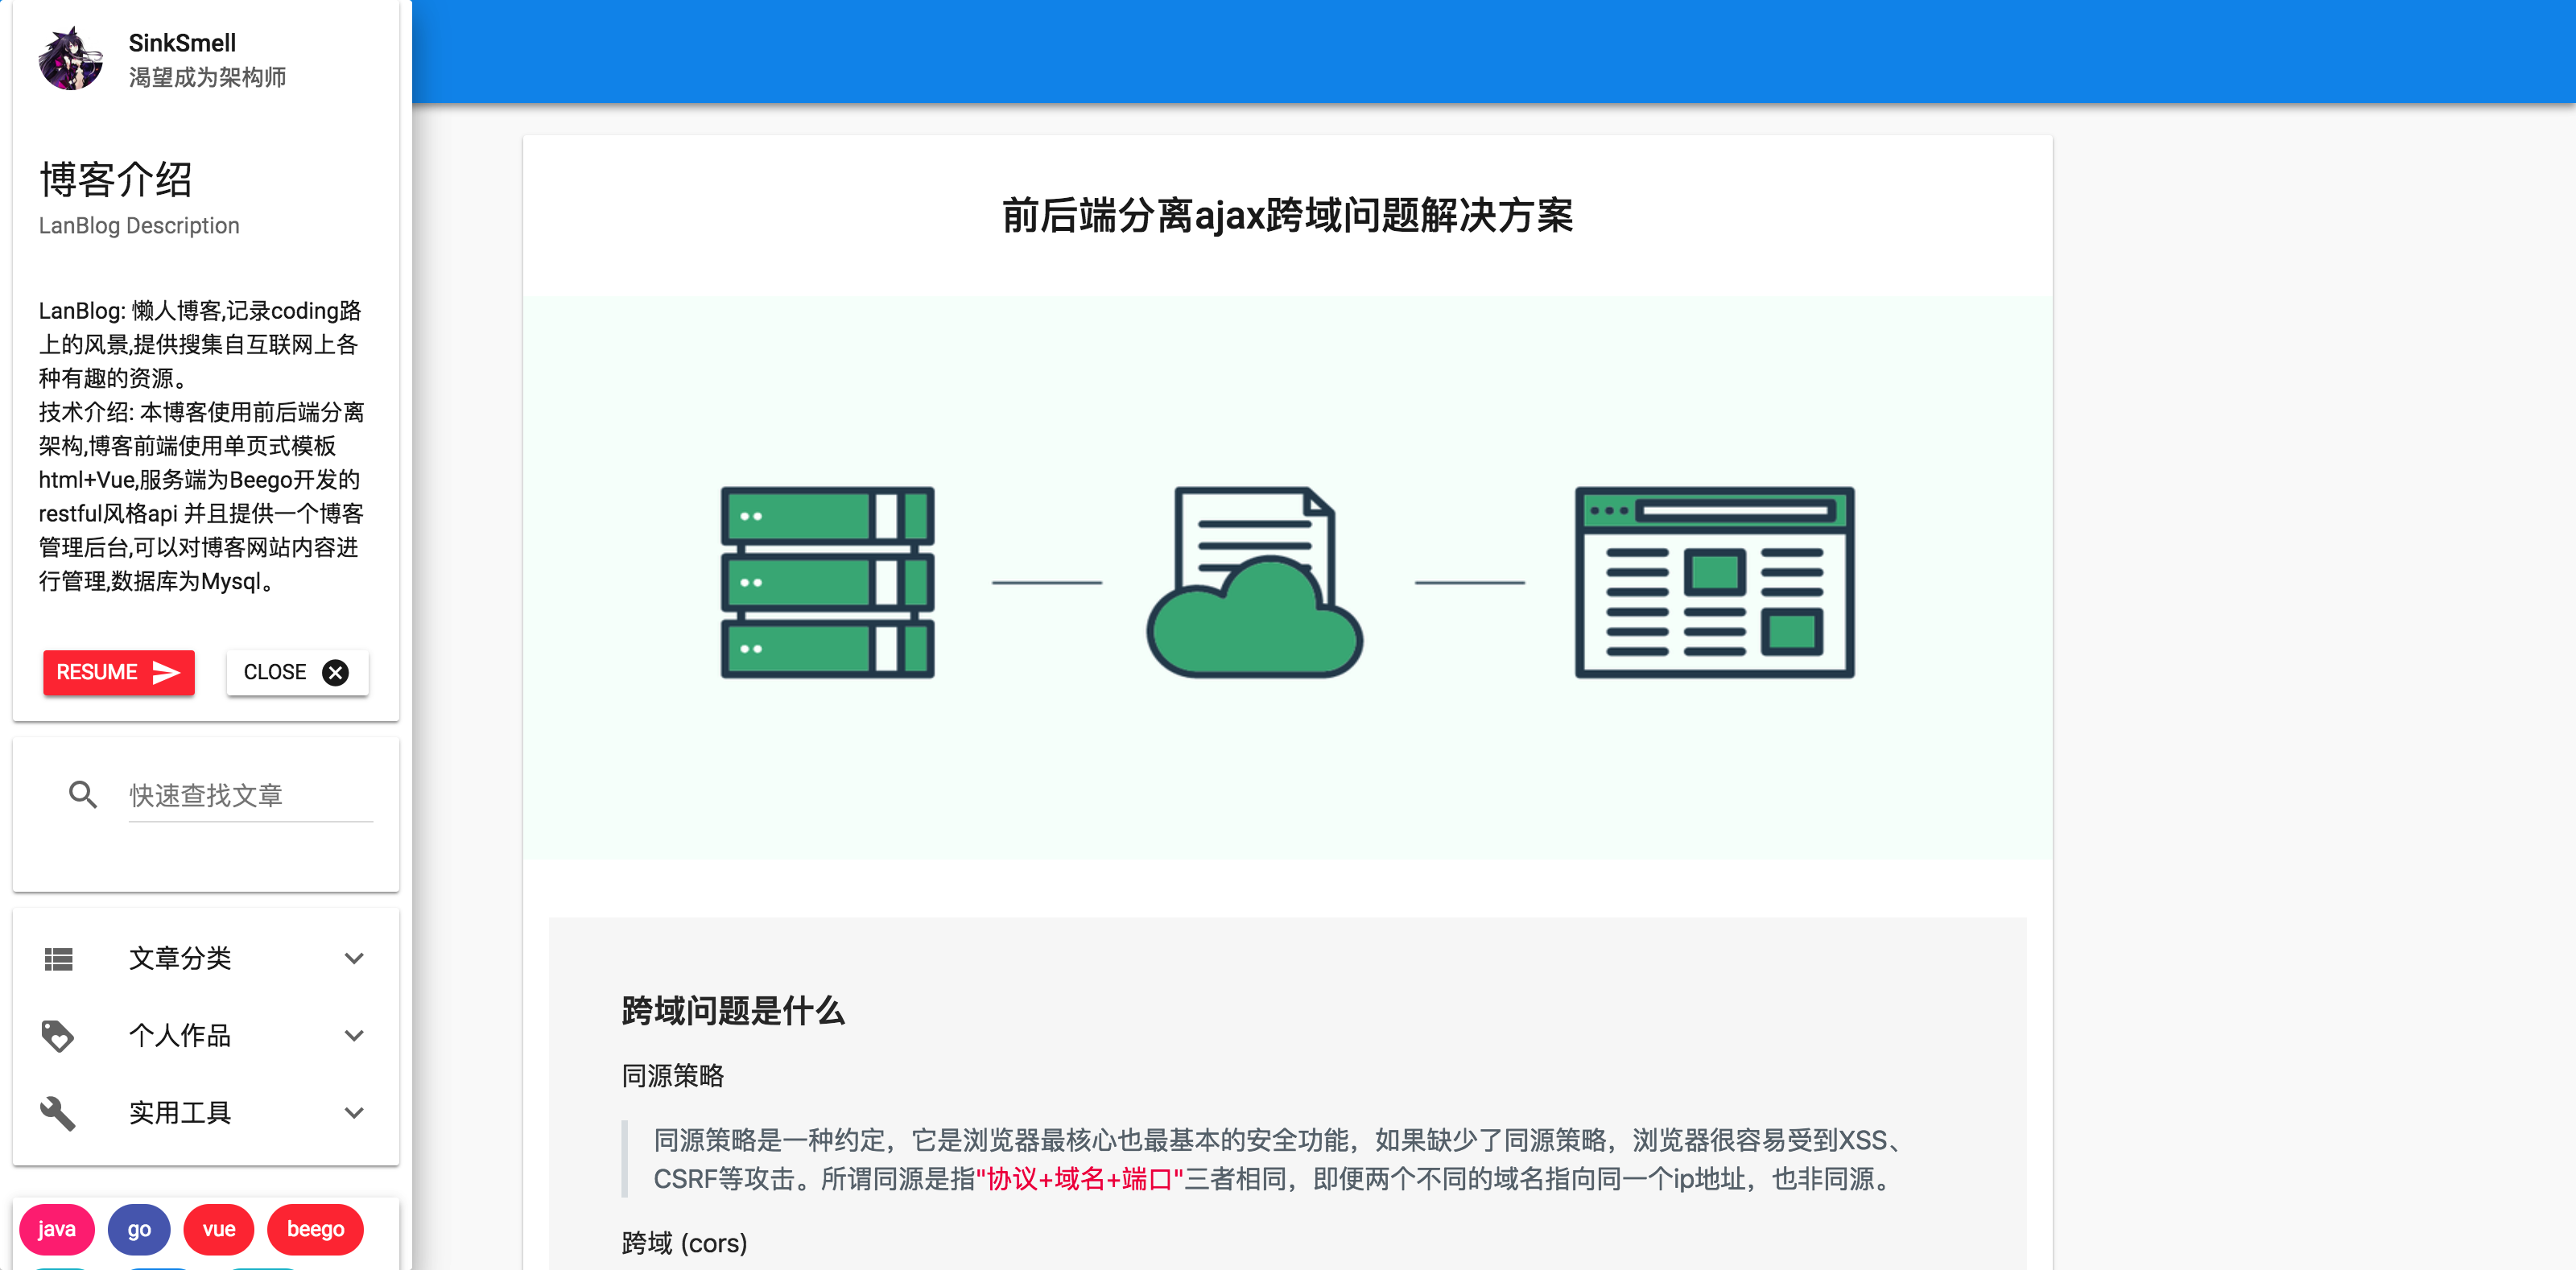
- 首页
-
侧边栏
-
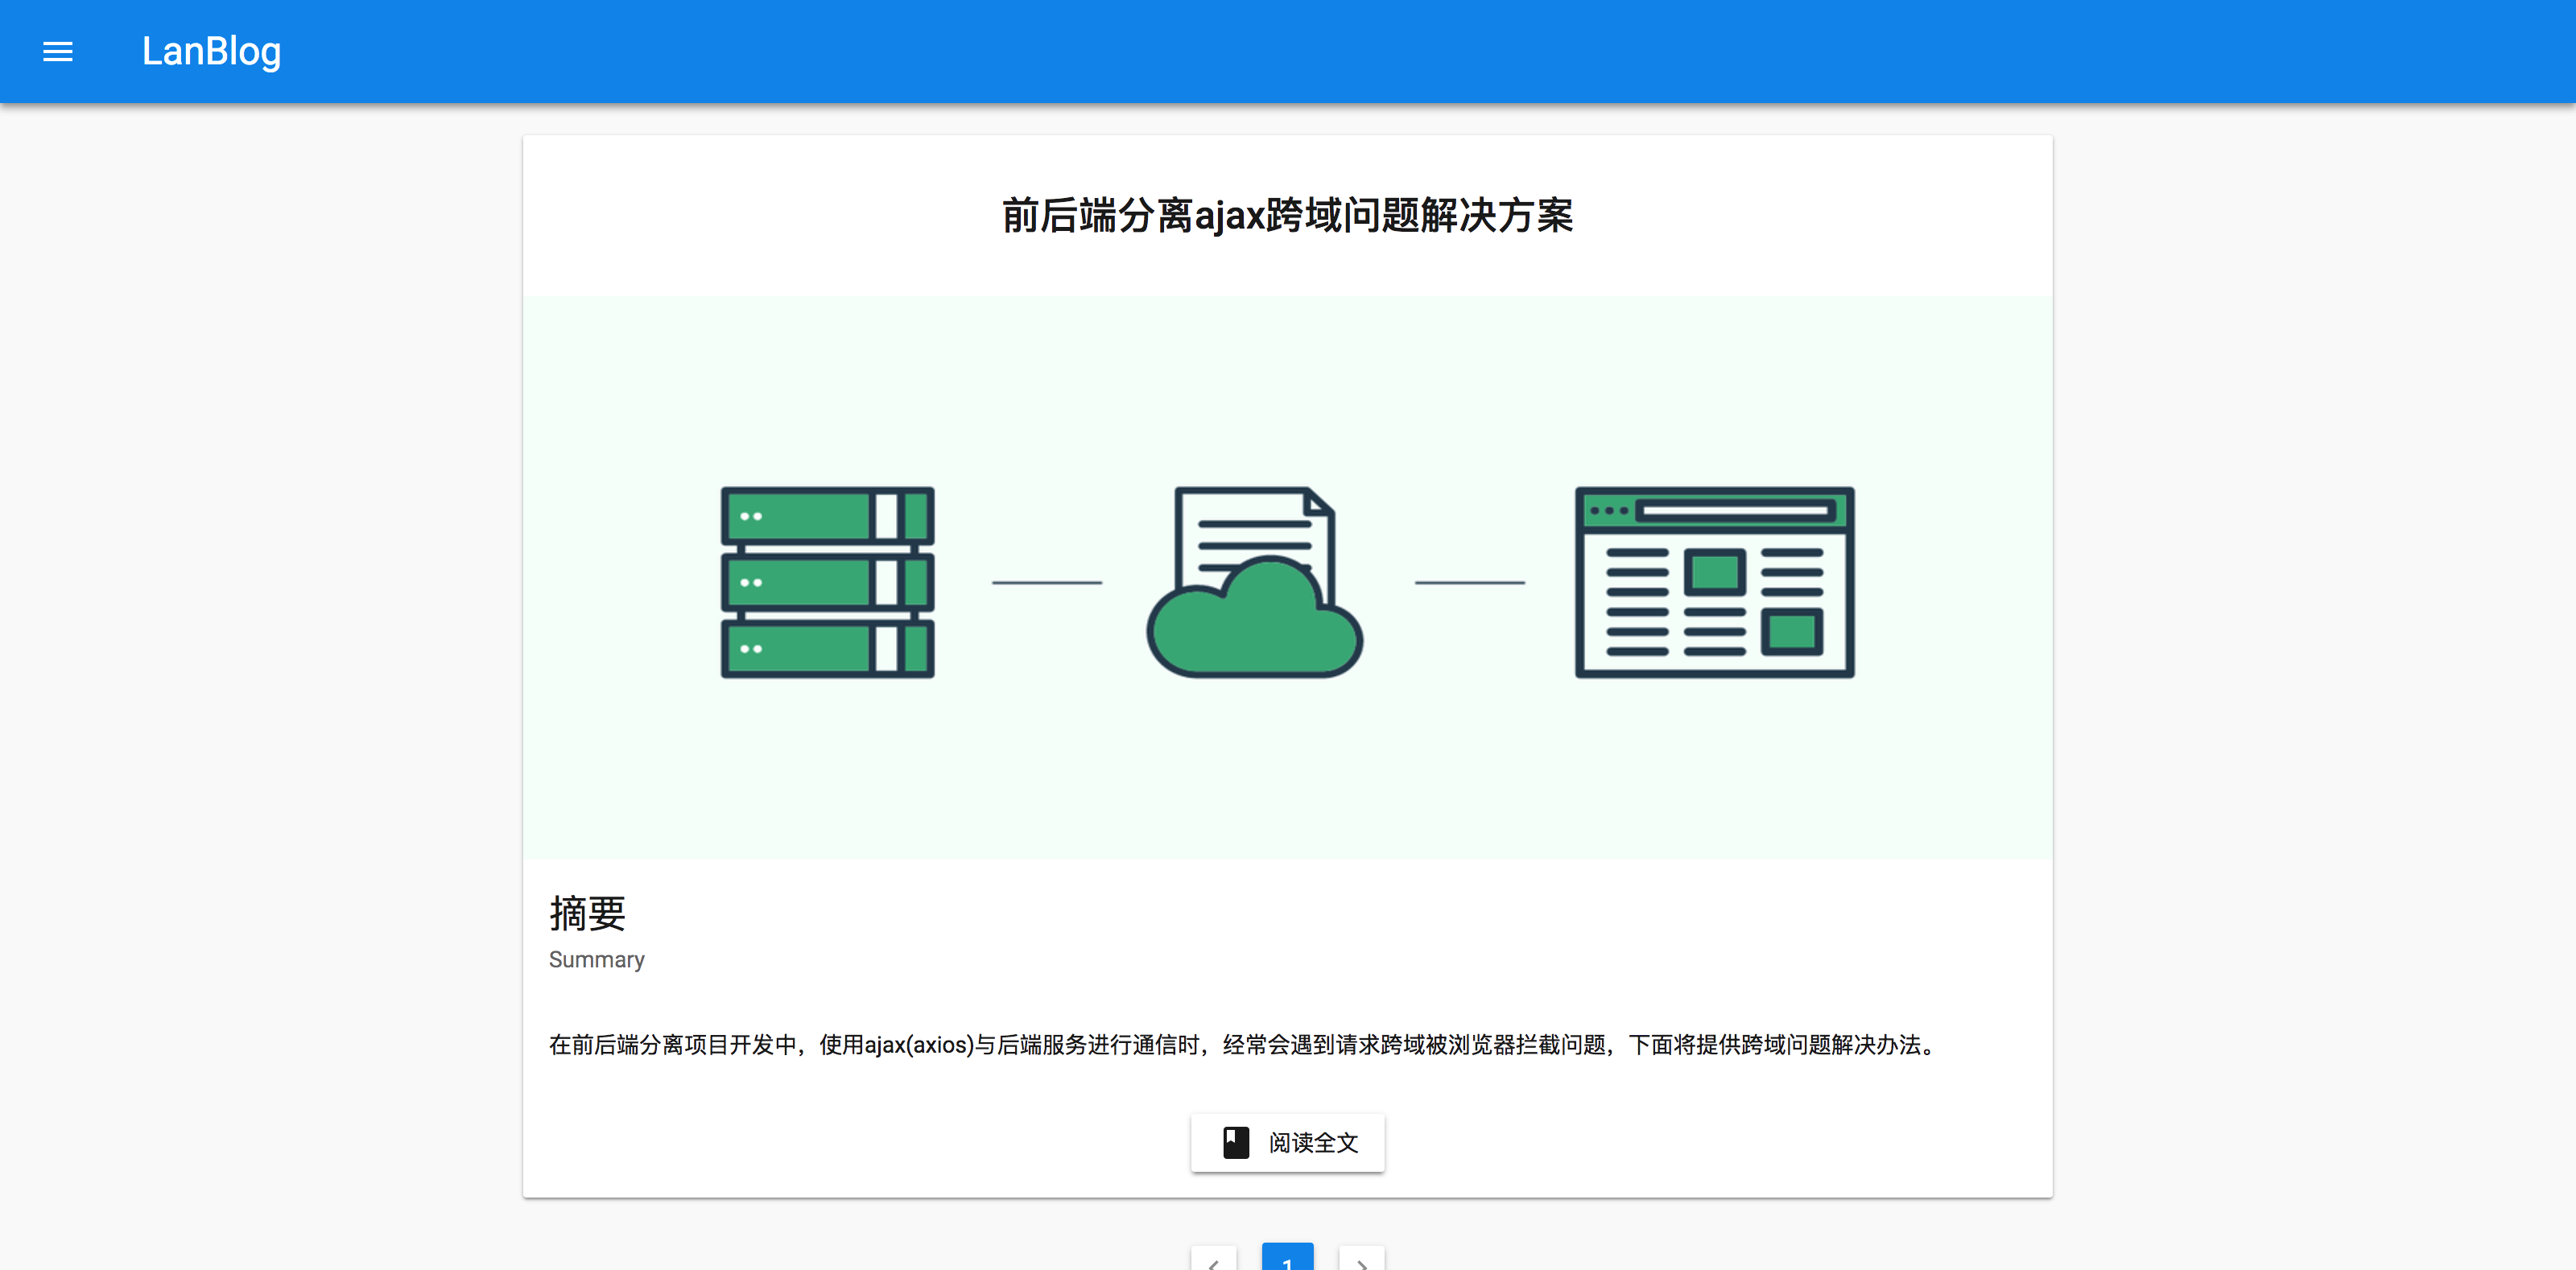
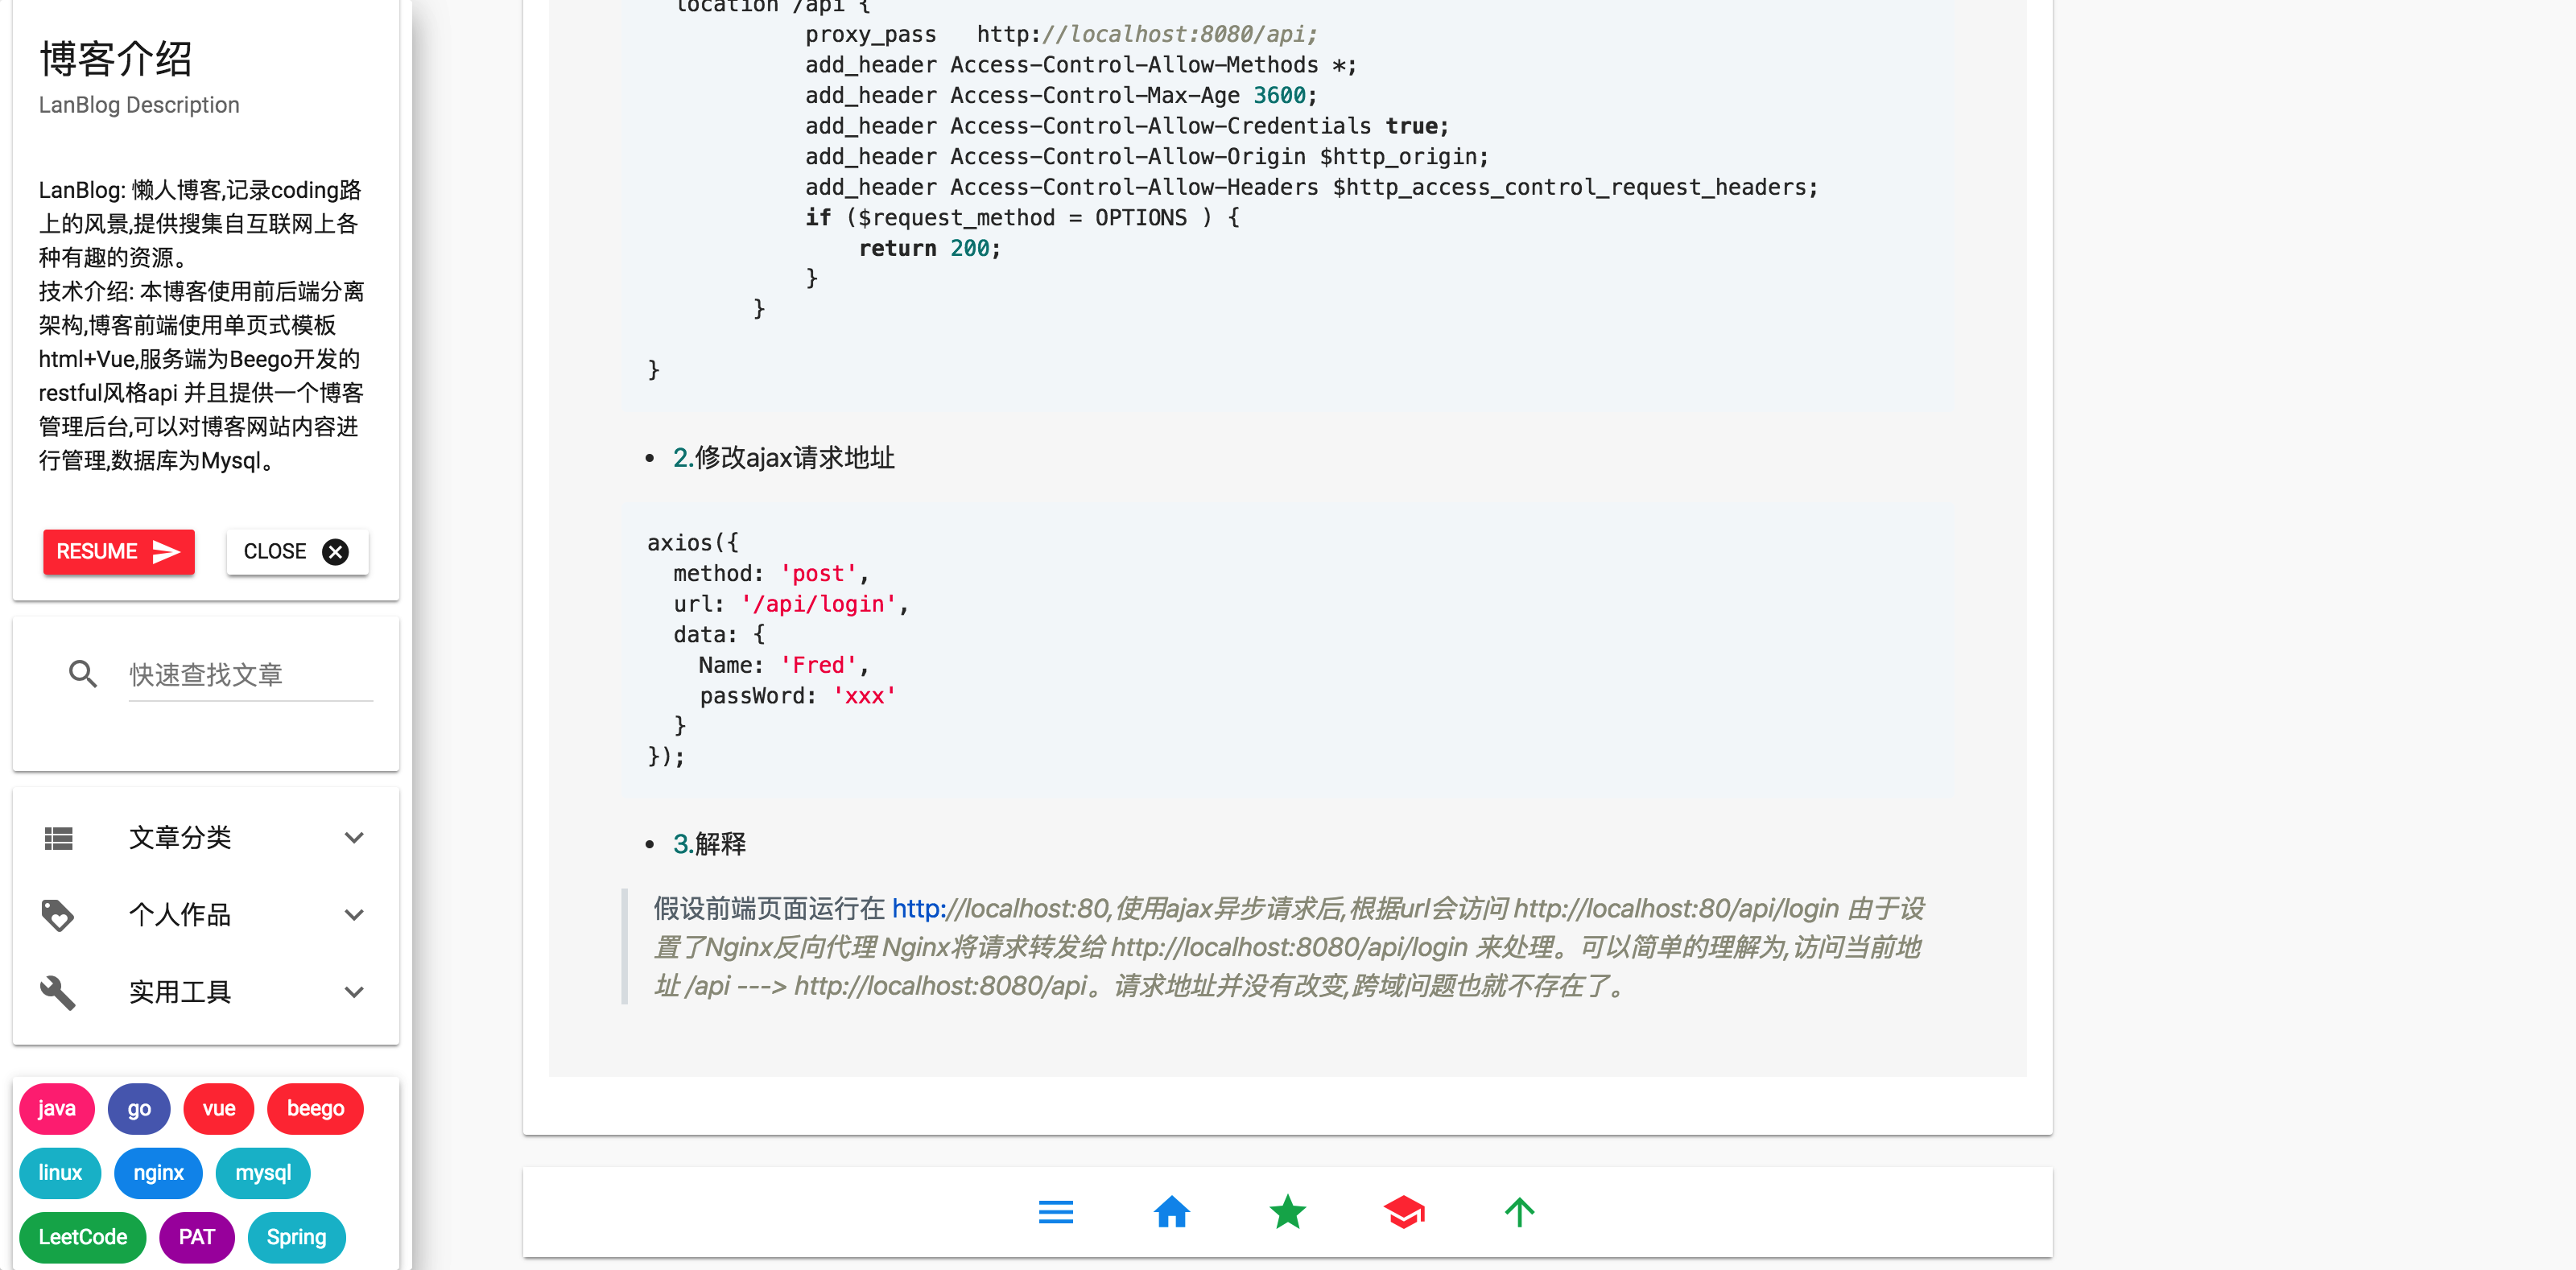
阅读界面
-
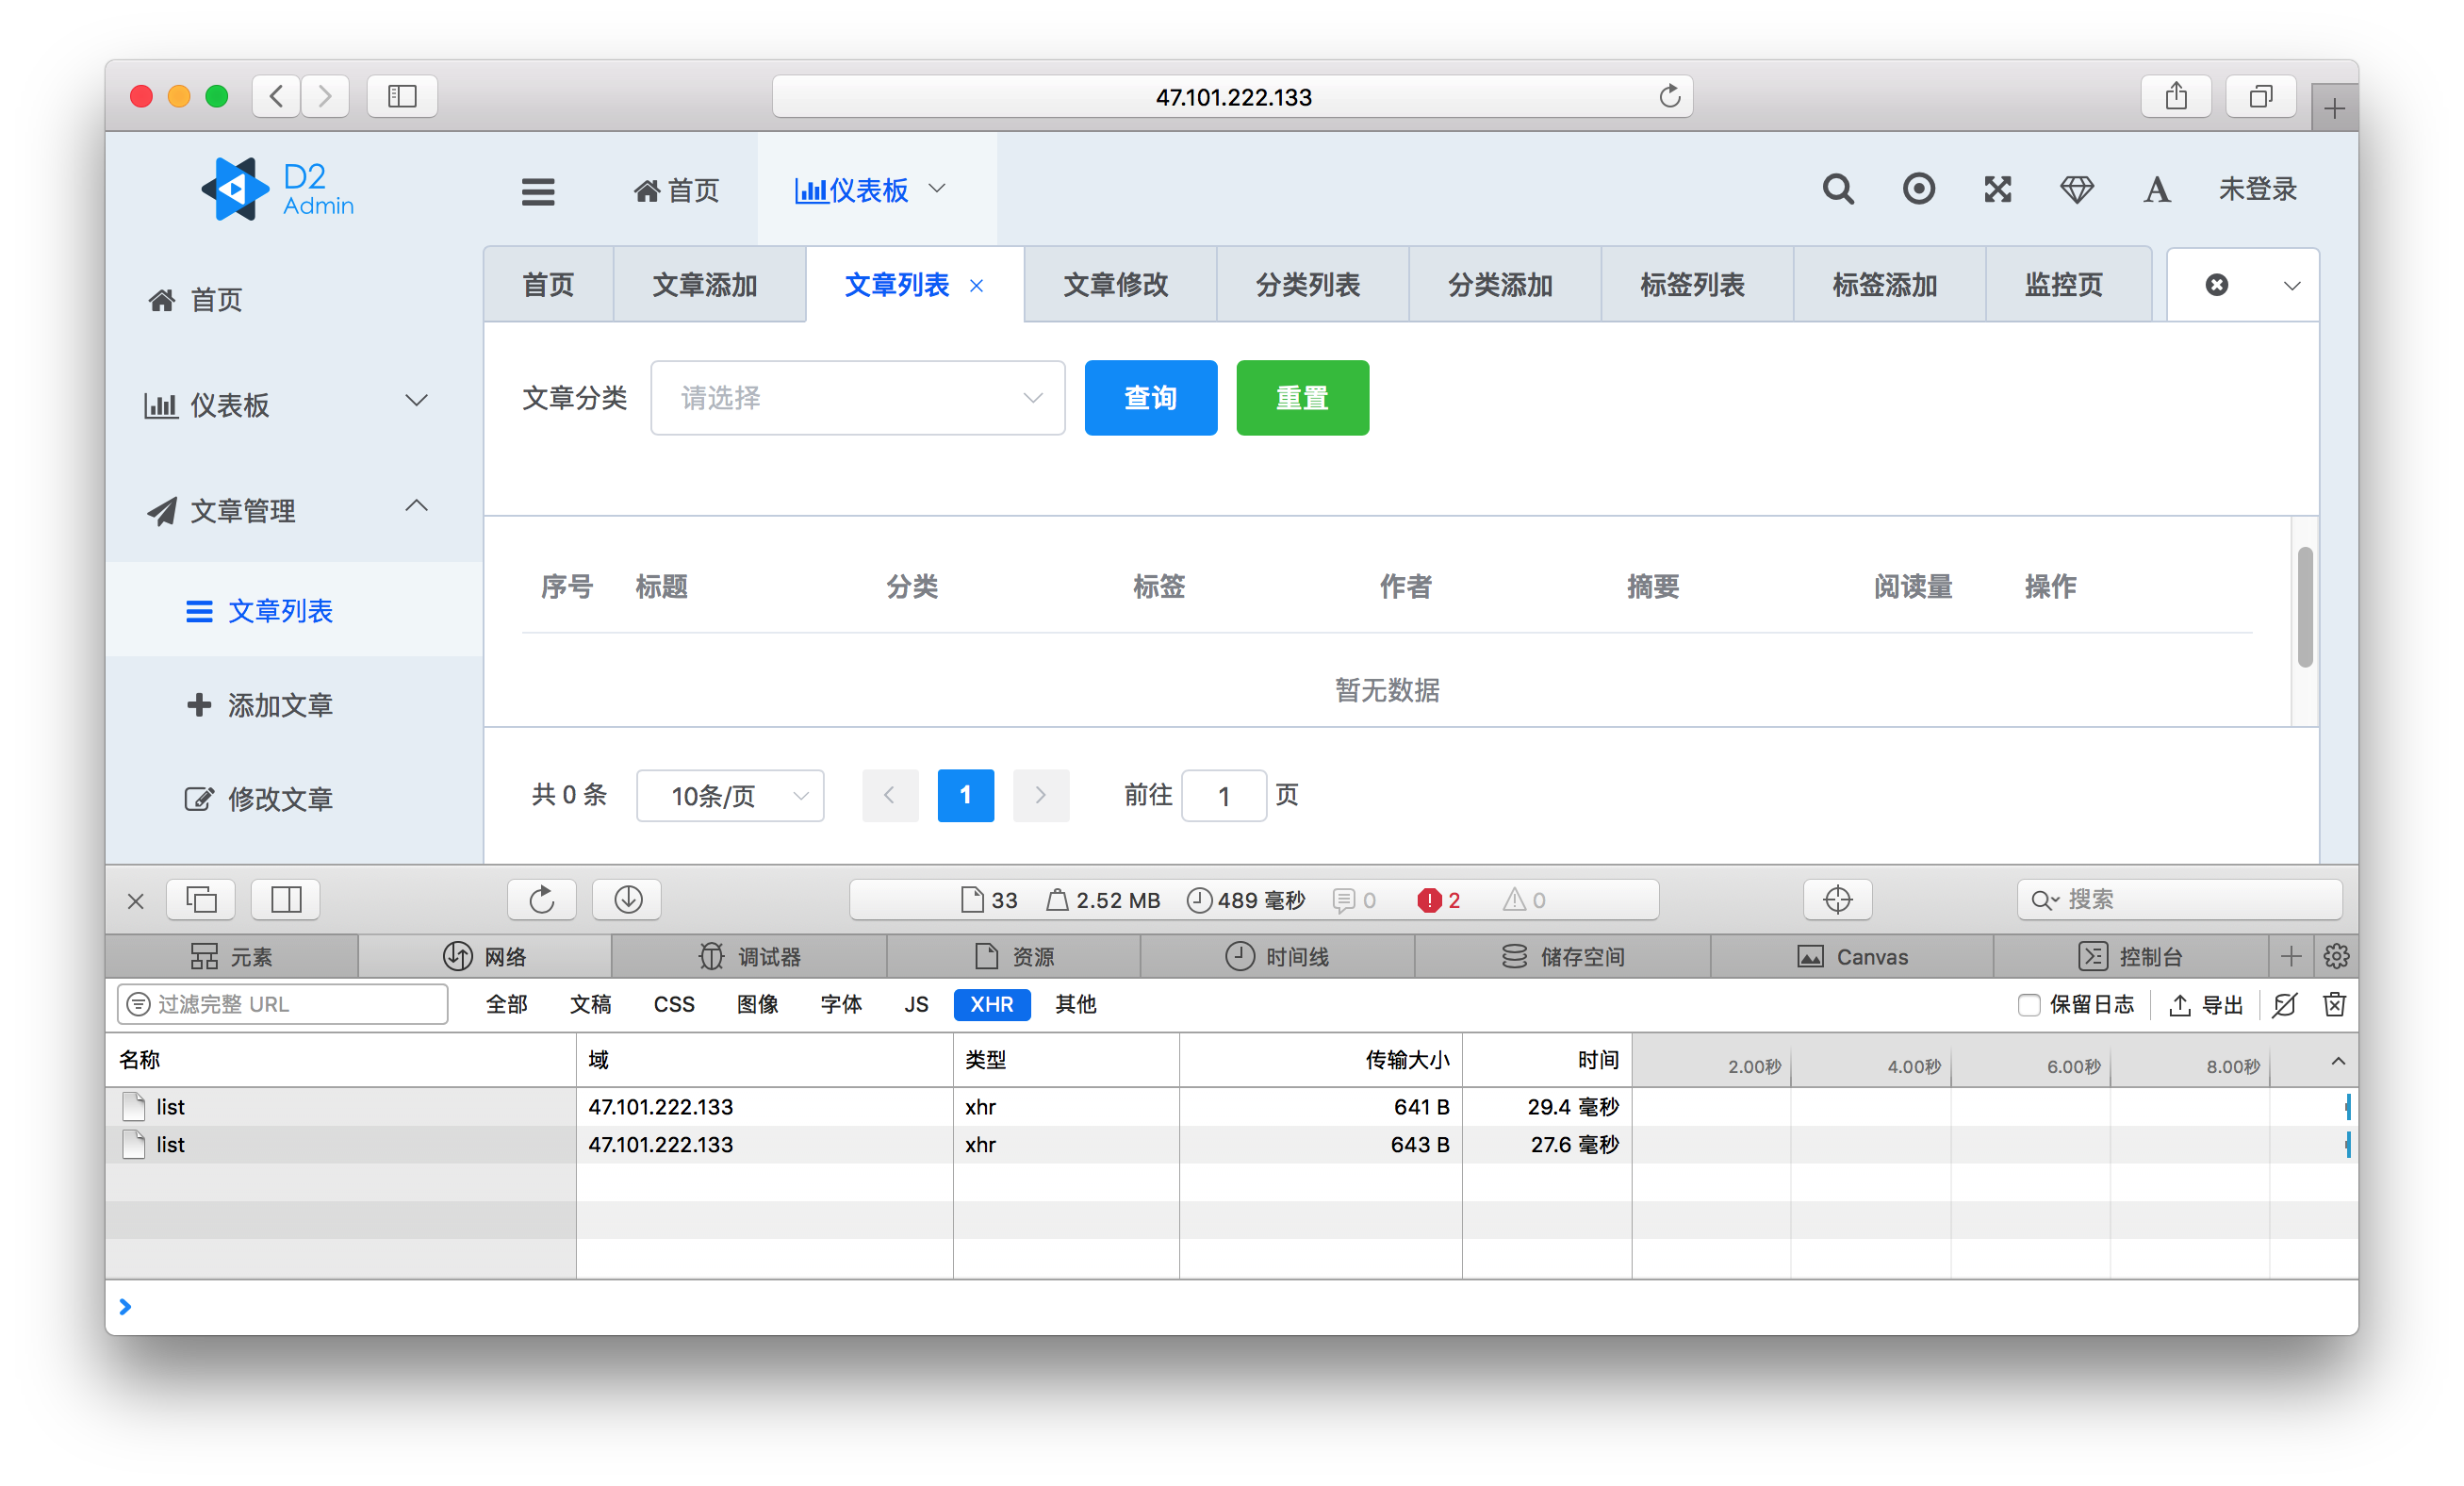
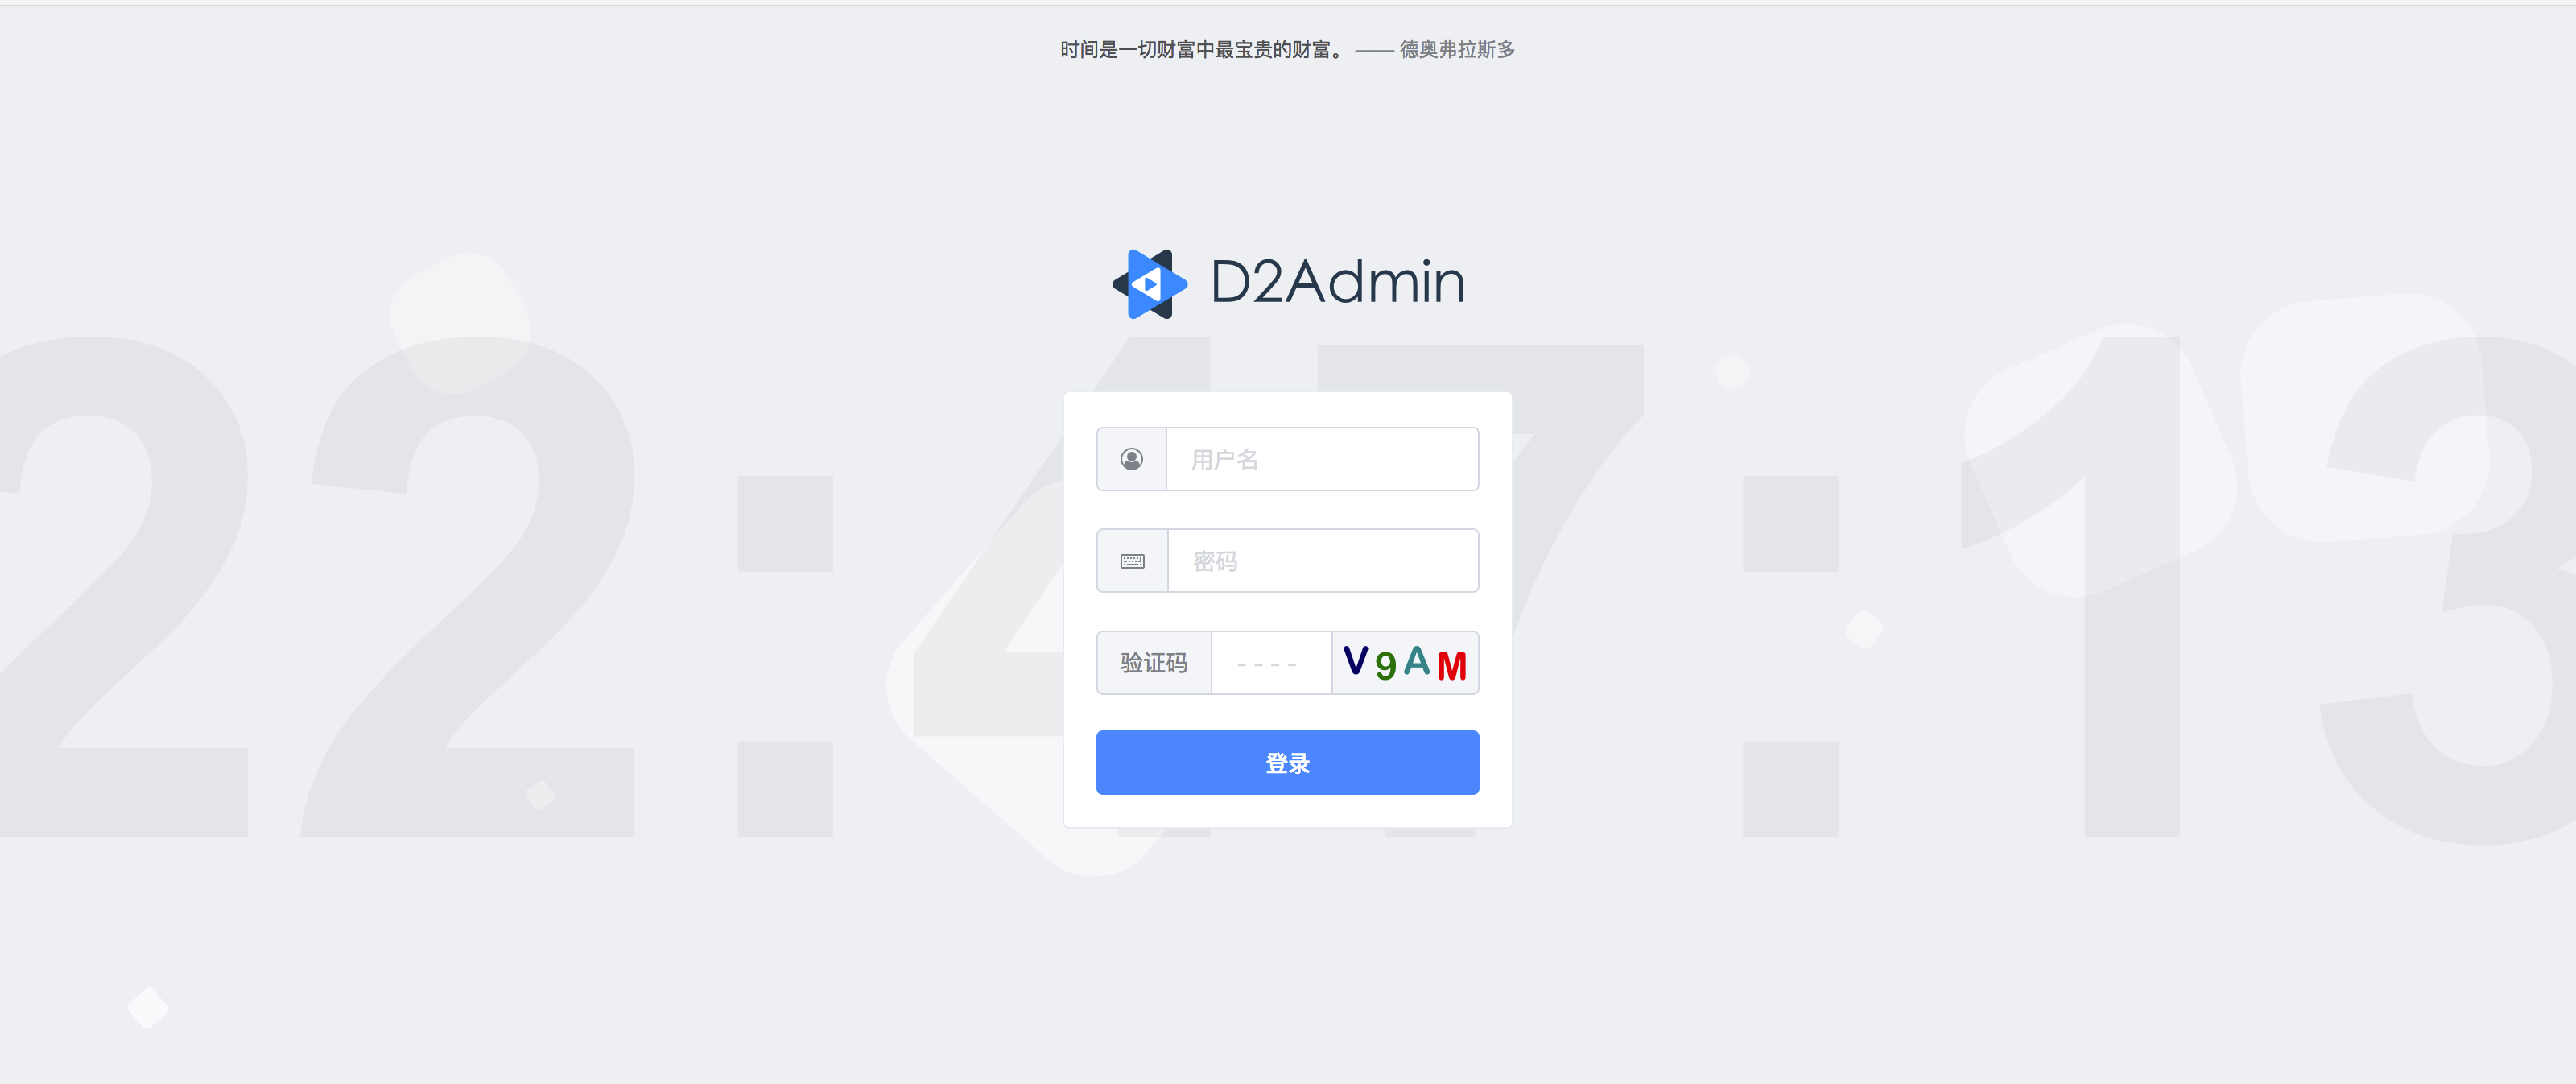
后台登录界面
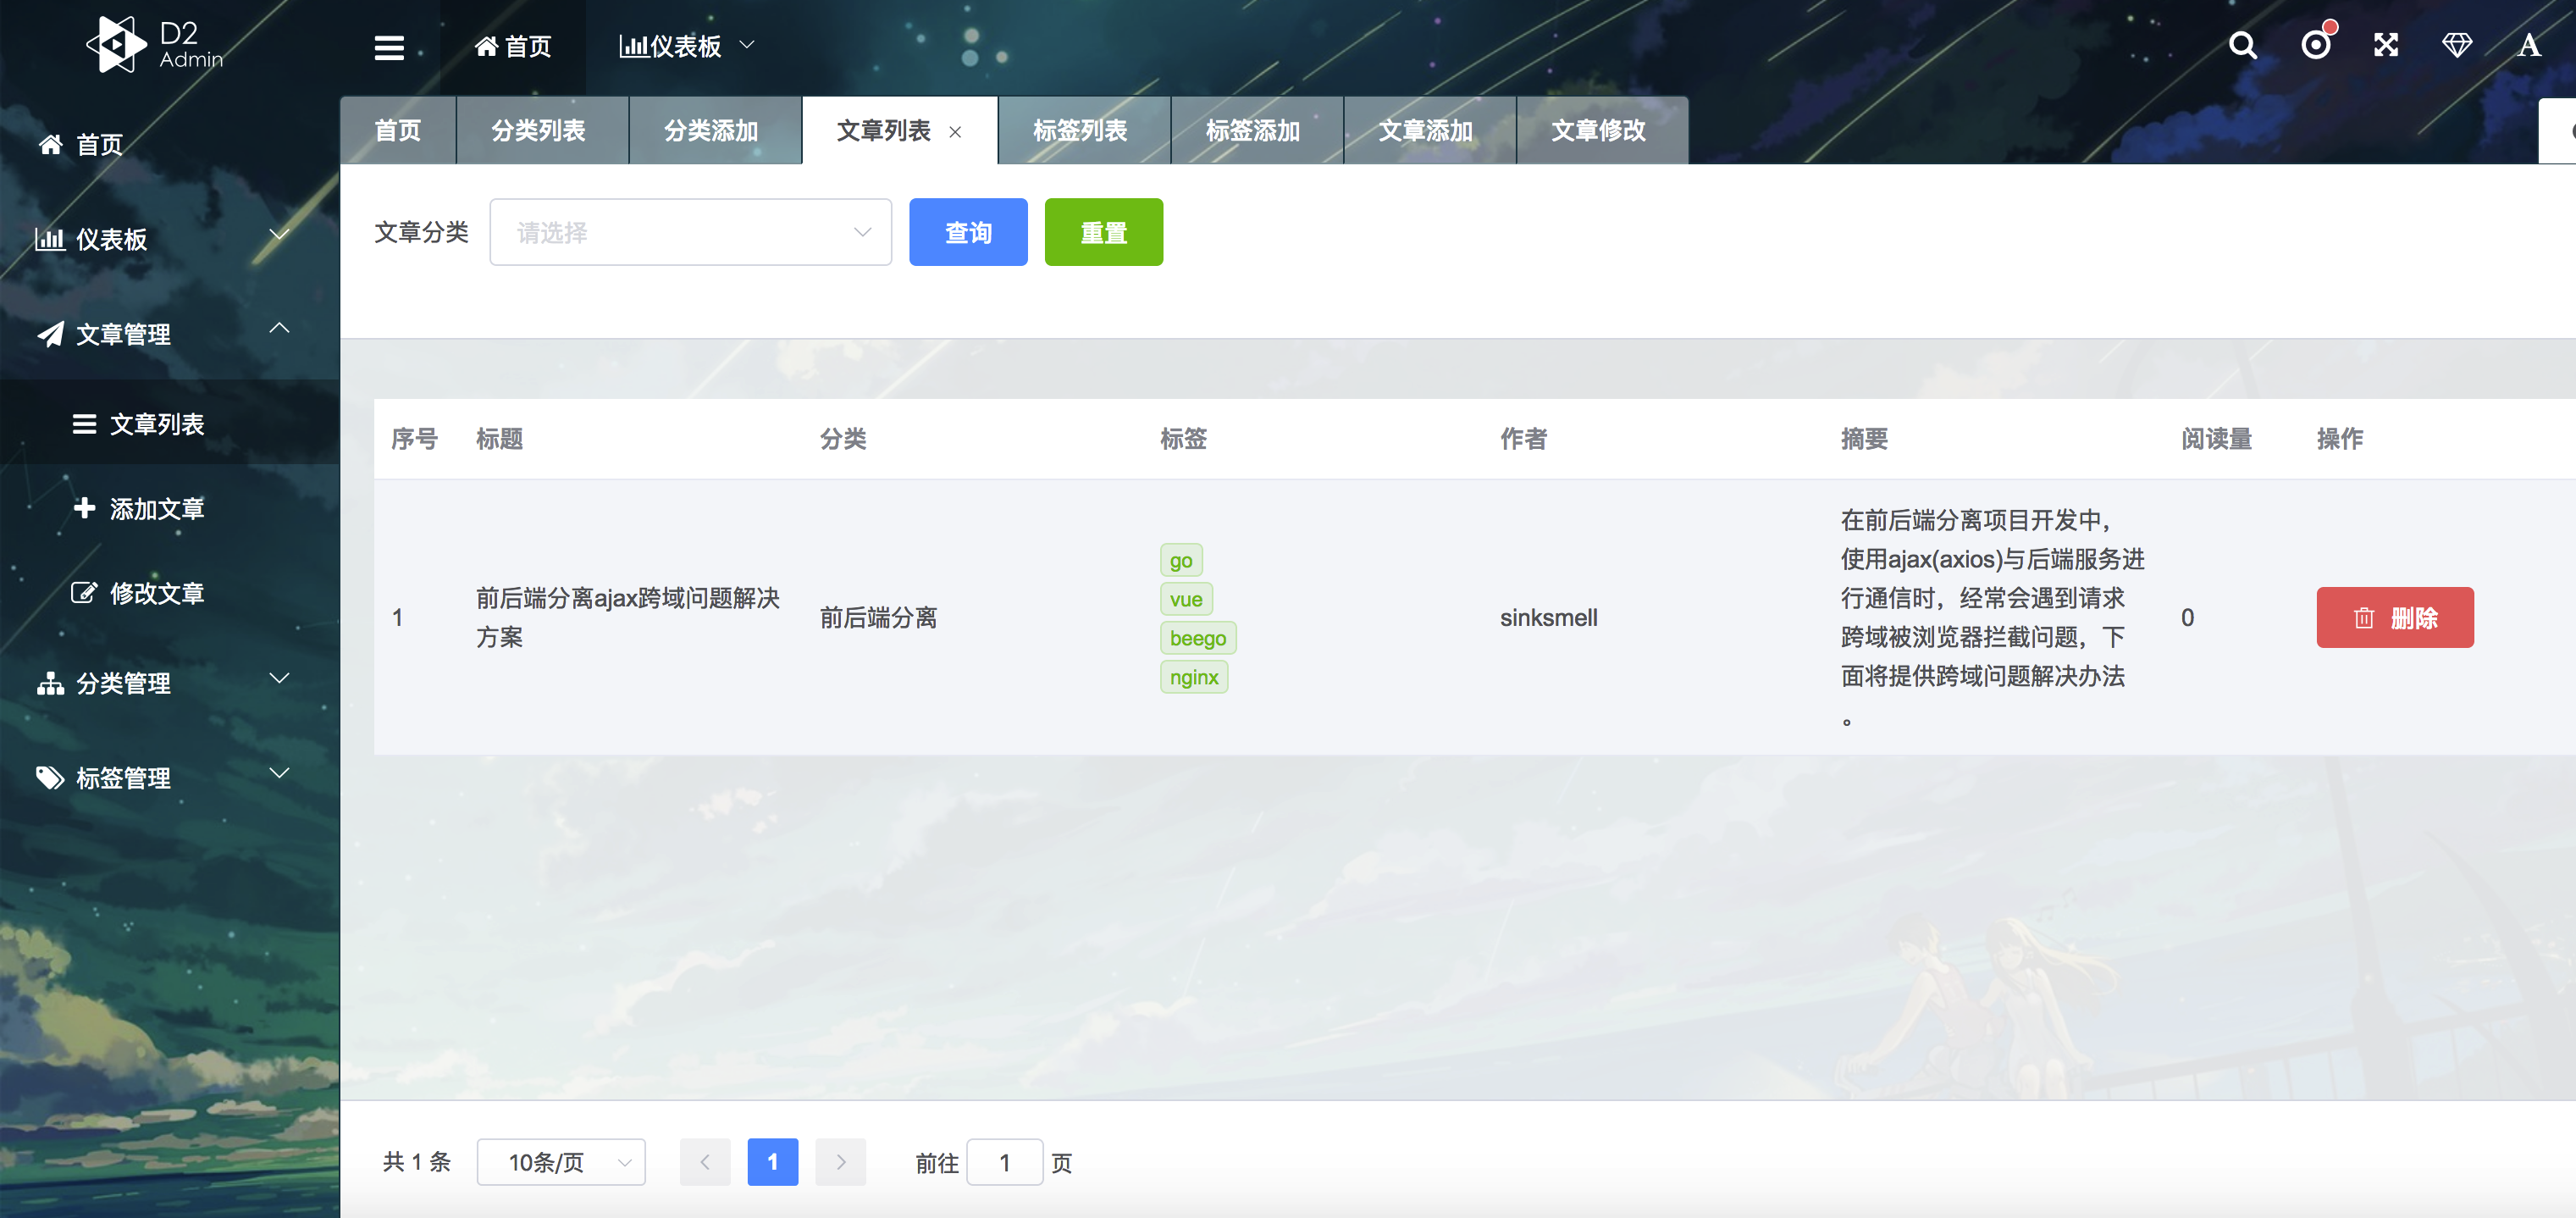
- 后台管理界面
安装&使用
以Ubuntu为例
简单部署
- 首先需要一个可以工作的K8S集群
- Mysql 默认密码是 sinksmell
- 后台管理账号和密码均是 sinksmell
- 配置文件在 conf/app.conf 里面可以修改登录密码,但是要重新编译镜像,在yaml文件中替换镜像版本
# 1. 克隆项目
	cd /home
	https://github.com/sinksmell/lanblog.git
# 2. 进入项目根目录
	cd /home/lanblog

root@iZuf6i0qzccaf7xbj7ugtxZ:/home# cd lanblog/
1. 部署mysql服务
root@iZuf6i0qzccaf7xbj7ugtxZ:/home/lanblog# ls
build  conf  controllers  front  go.mod  go.sum  LICENSE  main.go  makefile  models  README.md  routers  sql  swagger  vendor
root@iZuf6i0qzccaf7xbj7ugtxZ:/home/lanblog# kubectl apply -f build/mysql/lanblog-mysql.yaml
service/lanblog-mysql created
persistentvolumeclaim/mysql-pv-claim created
deployment.apps/lanblog-mysql created
persistentvolume/local-pv-1 created
root@iZuf6i0qzccaf7xbj7ugtxZ:/home/lanblog# kubectl get svc
NAME            TYPE        CLUSTER-IP     EXTERNAL-IP   PORT(S)    AGE
kubernetes      ClusterIP   10.152.183.1   <none>        443/TCP    24h
lanblog-mysql   ClusterIP   None           <none>        3306/TCP   53s
root@iZuf6i0qzccaf7xbj7ugtxZ:/home/lanblog# kubectl get po
NAME                            READY   STATUS    RESTARTS   AGE
lanblog-mysql-bfb7c765f-hkd5n   1/1     Running   0          2m19s
root@iZuf6i0qzccaf7xbj7ugtxZ:/home/lanblog#

# 进入Mysql pod 内创建数据库 myblog

root@iZuf6i0qzccaf7xbj7ugtxZ:/home/lanblog# kubectl get po
NAME                               READY   STATUS    RESTARTS   AGE
lanblog-backend-6d86579456-zqvtg   1/1     Running   0          3m24s
lanblog-mysql-bfb7c765f-hkd5n      1/1     Running   0          9m3s
root@iZuf6i0qzccaf7xbj7ugtxZ:/home/lanblog# kubectl exec -it lanblog-mysql-bfb7c765f-hkd5n /bin/bash
root@lanblog-mysql-bfb7c765f-hkd5n:/# mysql -h lanblog-mysql -u root -p
Enter password:
Welcome to the MySQL monitor.  Commands end with ; or \g.
Your MySQL connection id is 66
Server version: 8.0.17 MySQL Community Server - GPL

Copyright (c) 2000, 2019, Oracle and/or its affiliates. All rights reserved.

Oracle is a registered trademark of Oracle Corporation and/or its
affiliates. Other names may be trademarks of their respective
owners.

Type 'help;' or '\h' for help. Type '\c' to clear the current input statement.

mysql> CREATE DATABASE `myblog` CHARACTER SET utf8 COLLATE utf8_general_ci;
ERROR 1007 (HY000): Can't create database 'myblog'; database exists
mysql>

# exit 退出容器
MySQL服务成功部署
2. 部署backend
root@iZuf6i0qzccaf7xbj7ugtxZ:/home/lanblog# ls
build  conf  controllers  front  go.mod  go.sum  LICENSE  main.go  makefile  models  README.md  routers  sql  swagger  vendor
root@iZuf6i0qzccaf7xbj7ugtxZ:/home/lanblog# kubectl apply -f build/lanblog/lanblog.yaml
deployment.apps/lanblog-backend created
service/lanblog-backend created
root@iZuf6i0qzccaf7xbj7ugtxZ:/home/lanblog# kubectl get po
NAME                               READY   STATUS    RESTARTS   AGE
lanblog-backend-6d86579456-zqvtg   1/1     Running   0          10s
lanblog-mysql-bfb7c765f-hkd5n      1/1     Running   0          5m49s
root@iZuf6i0qzccaf7xbj7ugtxZ:/home/lanblog#
# 测试一下 能否正常访问
# ps 在node上要通过clusterIp来访问service
# 在pod里可以直接通过 service name
root@iZuf6i0qzccaf7xbj7ugtxZ:/home/lanblog# curl -v http://10.152.183.204:8088/v1/category/list
*   Trying 10.152.183.204...
* TCP_NODELAY set
* Connected to 10.152.183.204 (10.152.183.204) port 8088 (#0)
> GET /v1/category/list HTTP/1.1
> Host: 10.152.183.204:8088
> User-Agent: curl/7.58.0
> Accept: */*
>
< HTTP/1.1 200 OK
< Access-Control-Allow-Credentials: true
< Access-Control-Allow-Headers: Origin,Authorization,Access-Control-Allow-Origin,Access-Control-Allow-Headers,Content-Type
< Access-Control-Allow-Methods: GET,POST,OPTIONS
< Access-Control-Allow-Origin: *
< Access-Control-Expose-Headers: Content-Length,Access-Control-Allow-Origin,Access-Control-Allow-Headers,Content-Type
< Content-Length: 4
< Content-Type: application/json; charset=utf-8
< Server: beegoServer:1.12.0
< Date: Sat, 12 Oct 2019 06:52:47 GMT
<
* Connection #0 to host 10.152.183.204 left intact
# 正常访问
3. 部署gateway
root@iZuf6i0qzccaf7xbj7ugtxZ:/home/lanblog# ls
build  conf  controllers  front  go.mod  go.sum  LICENSE  main.go  makefile  models  README.md  routers  sql  swagger  vendor
root@iZuf6i0qzccaf7xbj7ugtxZ:/home/lanblog# kubectl apply -f build/gateway/lanblog-gateway.yaml
deployment.apps/lanblog-gateway created
service/gateway created
root@iZuf6i0qzccaf7xbj7ugtxZ:/home/lanblog# kubectl get svc
NAME              TYPE        CLUSTER-IP       EXTERNAL-IP   PORT(S)           AGE
gateway           ClusterIP   10.152.183.118   <none>        80/TCP,9090/TCP   7s
kubernetes        ClusterIP   10.152.183.1     <none>        443/TCP           24h
lanblog-backend   ClusterIP   10.152.183.204   <none>        8088/TCP          15m
lanblog-mysql     ClusterIP   None             <none>        3306/TCP          21m
root@iZuf6i0qzccaf7xbj7ugtxZ:/home/lanblog# kubectl get po
NAME                               READY   STATUS    RESTARTS   AGE
lanblog-backend-6d86579456-zqvtg   1/1     Running   0          15m
lanblog-gateway-bc89c665c-k4lfr    1/1     Running   0          19s
lanblog-mysql-bfb7c765f-hkd5n      1/1     Running   0          21m


# 判断gateway是否工作正常
root@iZuf6i0qzccaf7xbj7ugtxZ:/home/lanblog# curl  -v http://10.152.183.118:80
* Rebuilt URL to: http://10.152.183.118:80/
*   Trying 10.152.183.118...
* TCP_NODELAY set
* Connected to 10.152.183.118 (10.152.183.118) port 80 (#0)
> GET / HTTP/1.1
> Host: 10.152.183.118
> User-Agent: curl/7.58.0
> Accept: */*
>
< HTTP/1.1 200 OK
< Server: nginx/1.17.4
< Date: Sat, 12 Oct 2019 07:05:58 GMT
< Content-Type: text/html
< Content-Length: 22270
< Last-Modified: Sat, 12 Oct 2019 06:34:31 GMT
< Connection: keep-alive
4. 向外暴露服务
借助nginx向外暴露服务,需要事先安装 nginx 和 80,9090 两个端口
安装的Nginx有一个默认的Server 占用了 80 端口 手动删除
# 删除默认server
rm /etc/nginx/sites-enabled/default

# 拷贝lanblog.conf到 /etc/nginx/conf.d
 cp front/lanblog.conf /etc/nginx/conf.d/lanblog.conf
# 查看gateway服务的clusterIP 本例中是 10.152.183.118
kubectl  get svc
# 修改 /etc/nginx/conf.d/lanblog.conf 中的 proxy_pass 将 ip 替换为 上述ip
# 以下是修改后的结果
server {
    listen 80;
    server_name localhost;
    # access_log /root/blog.log  main;

    location / {
       proxy_pass http://10.152.183.118:80/ ;
    }
}

server {
    listen 9090;
    server_name localhost;
    # access_log /root/blog.log  main;

    location / {
       proxy_pass http://10.152.183.118:9090/ ;
    }

}

# 重新加载配置文件
nginx -s reload
5. 访问博客
1. 输入IP访问博客界面
2. 输入IP:9090访问后台管理界面