Chat Agent UI | Java AI Dev
When building chat agents (conversational agents), it's essential to have some tools to test the agents. The agent may expose a REST API, so it can be tested using tools like Postman, or using Swagger UI. It's better to use a GUI tool when testing agents.
Chat Agent UI is a small library to provide a chatbot-like UI when testing agents. It's built using assistant-ui with a custom LocalRuntime which talks to the backend API.
The UI sends requests to /chat and receives streaming responses using Server-sent events. Request and response formats come from assistant-ui.
Client
To use the UI, you need to add the Maven dependency to your project, replacing ${chat-agent-ui.version} with the latest version.
Latest version:
Chat agent UI dependency
<dependency>
    <groupId>com.javaaidev.chatagentui</groupId>
    <artifactId>chat-agent-ui</artifactId>
    <version>${chat-agent-ui.version}</version>
</dependency>
This JAR contains client-side files and is packaged as a webjar.
Server
For the server side, it must expose a REST endpoint at /chat which accepts POST requests.
Model
The request body type is ChatAgentRequest, while the response body type is Flux<ServerSentEvent<ChatAgentResponse>>.
ChatAgentRequest and ChatAgentResponse are defined in the following module.
Latest version:
Javadoc :

Chat agent model dependency
<dependency>
    <groupId>com.javaaidev.llmagentspec</groupId>
    <artifactId>chat-agent-model</artifactId>
    <version>${llm-agent-spec.version}</version>
</dependency>
Spring AI
For Spring AI applications, you can use the Spring AI adapter. This adapter provides utility methods to convert between models of chat agent and Spring AI.
Latest version:
Javadoc :

Chat agent UI Spring AI adapter dependency
<dependency>
    <groupId>com.javaaidev.llmagentspec</groupId>
    <artifactId>spring-ai-adapter</artifactId>
    <version>${llm-agent-spec.version}</version>
</dependency>
Below is an example of Spring AI server-side code. ModelAdapter is used to convert models.
fromRequestconverts aChatAgentRequestto a list of Spring AIMessages.toStreamingResponseconverts aFlux<ChatResponse>to aFlux<ServerSentEvent<ChatAgentResponse>>.
Backend example
package com.javaaidev.agent;

import static com.javaaidev.agent.Constants.SYSTEM_TEXT;

import com.javaaidev.chatagent.model.ChatAgentRequest;
import com.javaaidev.chatagent.model.ChatAgentResponse;
import com.javaaidev.chatagent.springai.ModelAdapter;
import org.springframework.ai.chat.client.ChatClient;
import org.springframework.ai.chat.messages.Message;
import org.springframework.http.MediaType;
import org.springframework.http.codec.ServerSentEvent;
import org.springframework.web.bind.annotation.PostMapping;
import org.springframework.web.bind.annotation.RequestBody;
import org.springframework.web.bind.annotation.RequestMapping;
import org.springframework.web.bind.annotation.RestController;
import reactor.core.publisher.Flux;

@RestController
@RequestMapping("/chat")
public class ChatAgentStreamingController {

  private final ChatClient chatClient;

  public ChatAgentStreamingController(ChatClient.Builder builder) {
    chatClient = builder.build();
  }

  @PostMapping(produces = MediaType.TEXT_EVENT_STREAM_VALUE)
  public Flux<ServerSentEvent<ChatAgentResponse>> chatStreaming(
      @RequestBody ChatAgentRequest request) {
    return ModelAdapter.toStreamingResponse(
        chatClient.prompt()
            .system(SYSTEM_TEXT)
            .messages(ModelAdapter.fromRequest(request).toArray(new Message[0]))
            .stream()
            .chatResponse());
  }
}
Non-Streaming
The UI is required to use streaming mode. If you are not using streaming of ChatClient, you can convert the ChatResponse into a Flux with only one element.
The code below shows an example of using non-streaming mode.
Non-streaming backend example
package com.javaaidev.agent;

import static com.javaaidev.agent.Constants.SYSTEM_TEXT;

import com.javaaidev.chatagent.model.ChatAgentRequest;
import com.javaaidev.chatagent.model.ChatAgentResponse;
import com.javaaidev.chatagent.springai.ModelAdapter;
import org.springframework.ai.chat.client.ChatClient;
import org.springframework.ai.chat.messages.Message;
import org.springframework.http.codec.ServerSentEvent;
import org.springframework.web.bind.annotation.PostMapping;
import org.springframework.web.bind.annotation.RequestBody;
import org.springframework.web.bind.annotation.RequestMapping;
import org.springframework.web.bind.annotation.RestController;
import reactor.core.publisher.Flux;

@RestController
@RequestMapping("/chat_non_streaming")
public class ChatAgentController {

  private final ChatClient chatClient;

  public ChatAgentController(ChatClient.Builder builder) {
    chatClient = builder.build();
  }

  @PostMapping
  public Flux<ServerSentEvent<ChatAgentResponse>> chat(@RequestBody ChatAgentRequest request) {
    if (request == null) {
      return Flux.empty();
    }
    var messages = ModelAdapter.fromRequest(request);
    var chatResponse = chatClient.prompt().system(SYSTEM_TEXT)
        .messages(messages.toArray(new Message[0]))
        .call()
        .chatResponse();
    if (chatResponse == null) {
      return Flux.empty();
    }
    return ModelAdapter.toStreamingResponse(Flux.just(chatResponse));
  }
}
UI
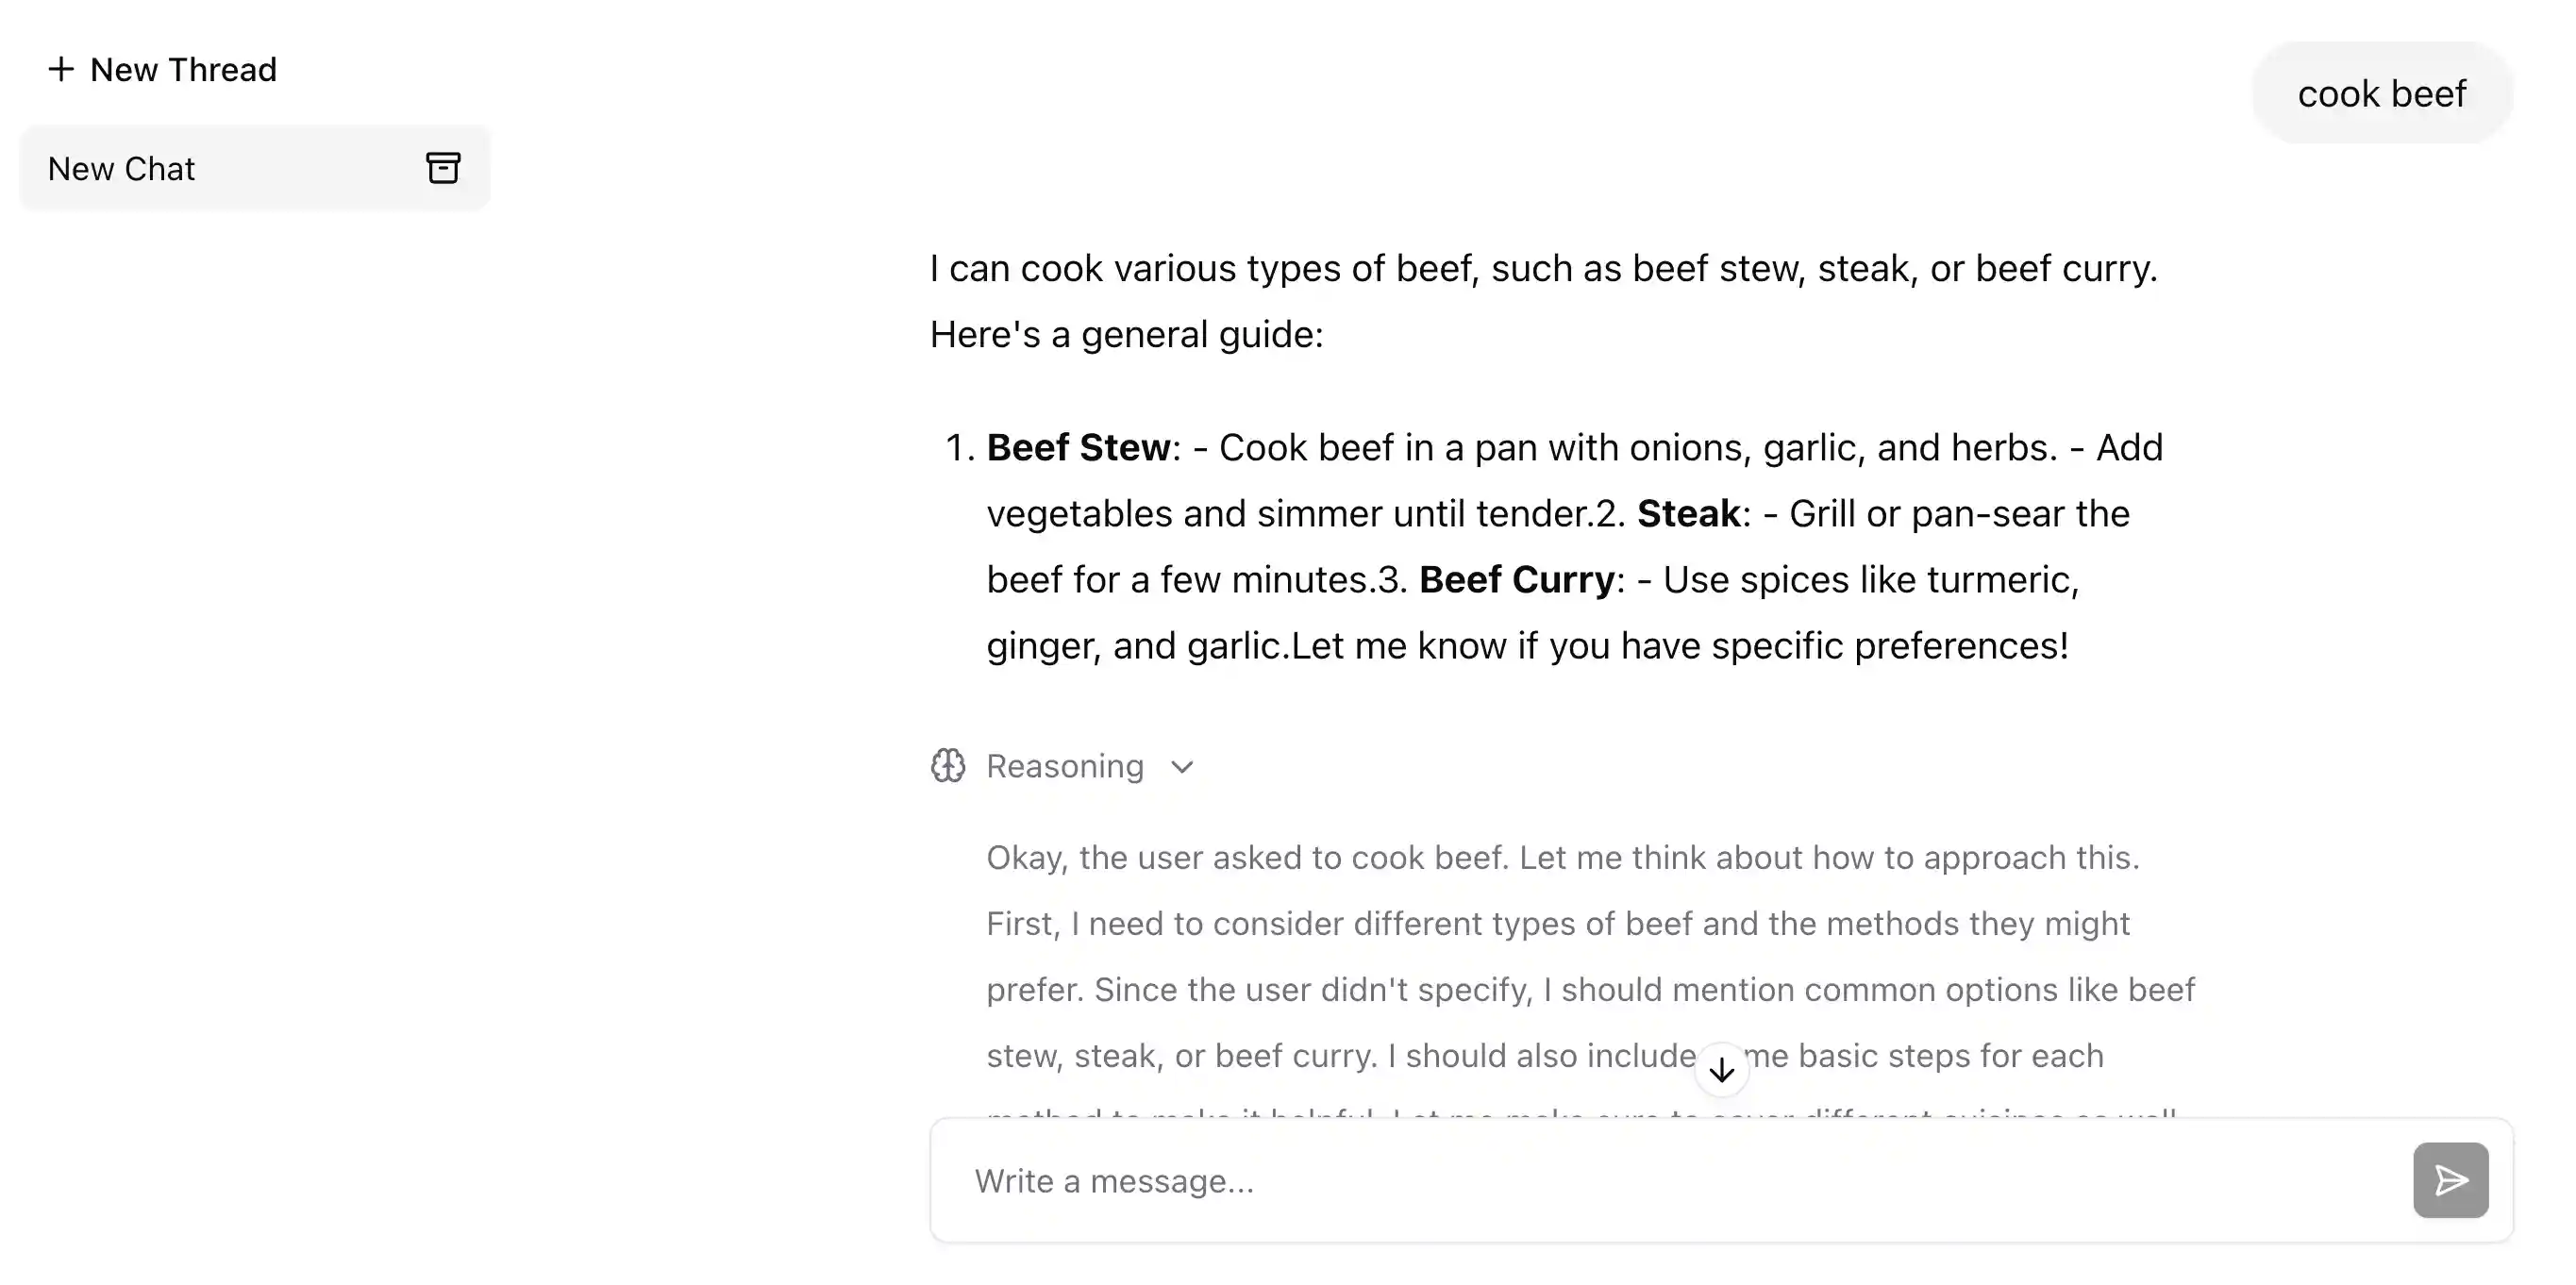
After starting the server, the UI can be accessed from path /webjars/chat-agent-ui/index.html.
See the screenshot below. If the model provides reasoning output, this output will also be displayed.
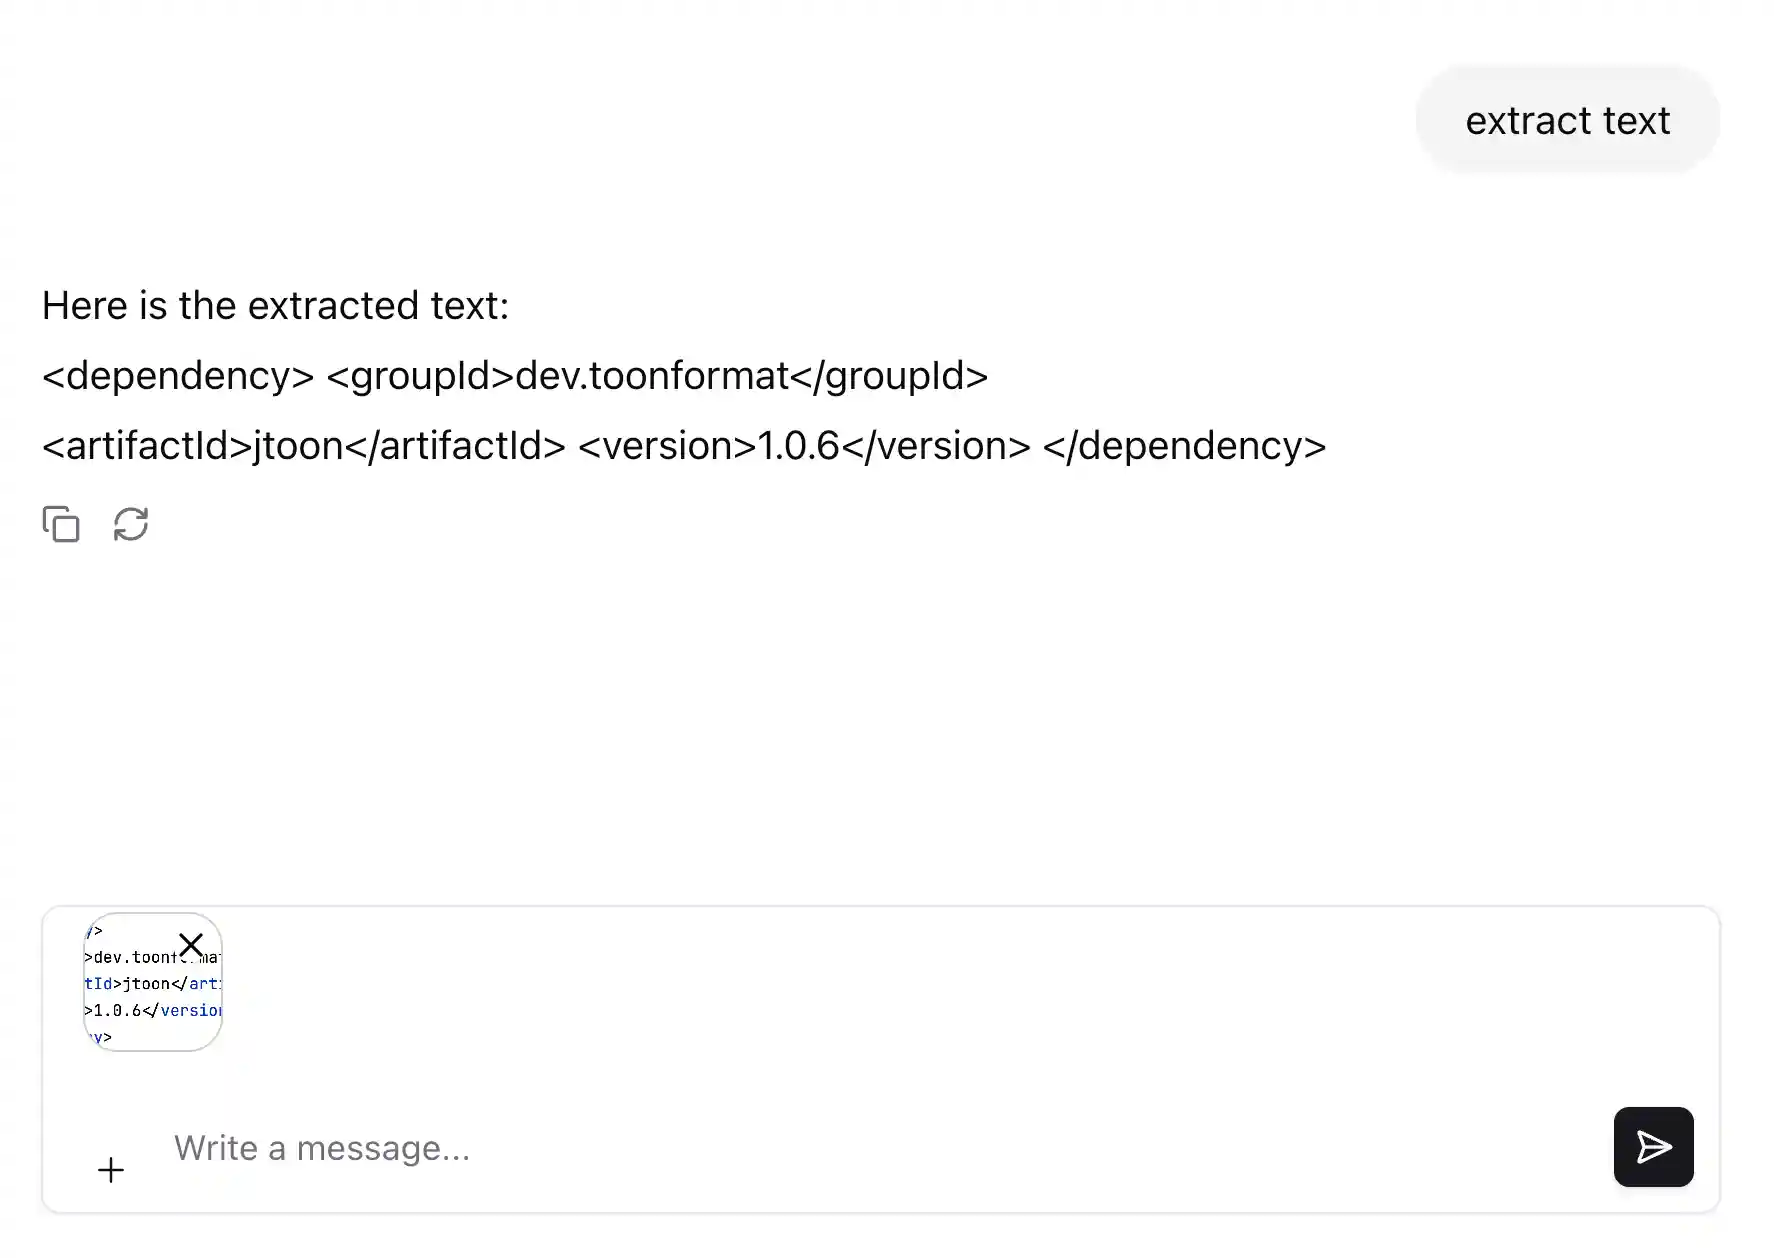
You can also add images and text files.