LangGraph: Build Stateful AI Agents in Python
by Harrison Hoffman Publication date Mar 19, 2025 Reading time estimate 58m intermediate ai data-science
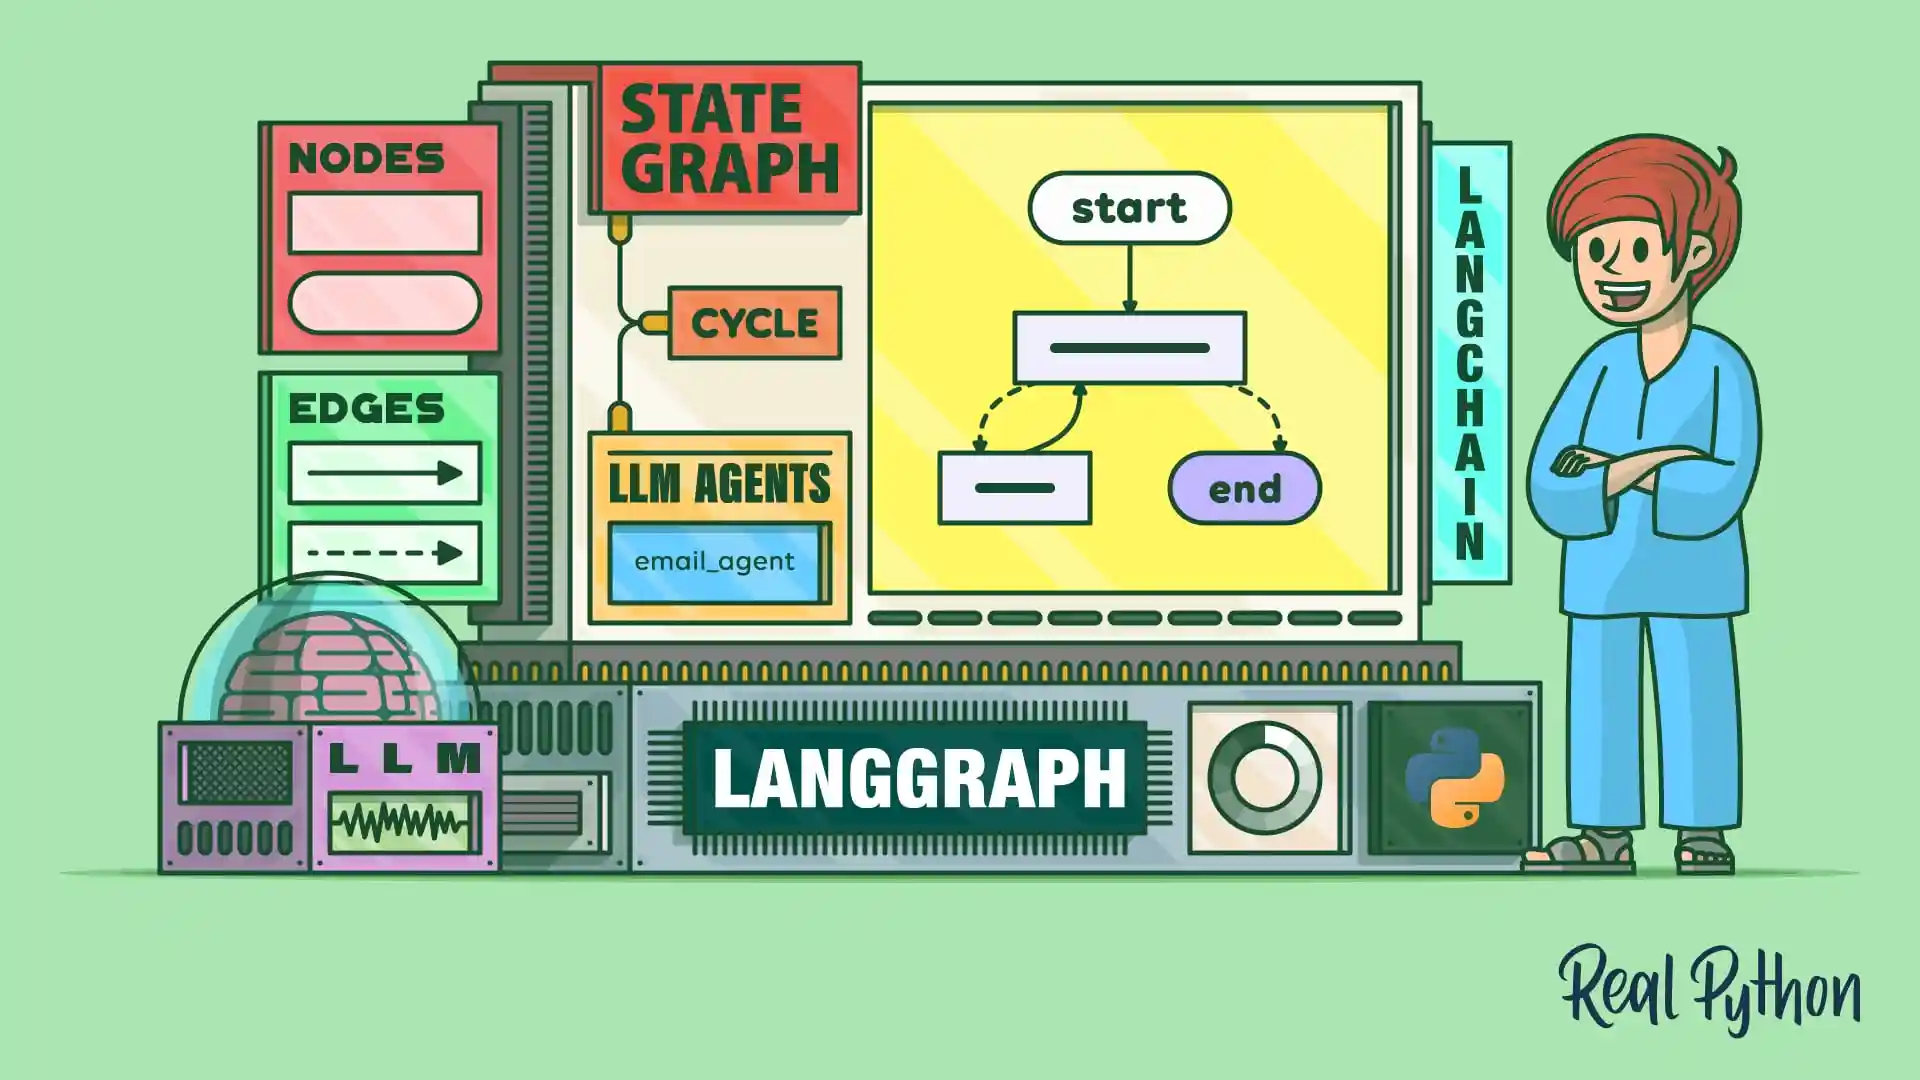
LangGraph is a versatile Python library designed for stateful, cyclic, and multi-actor Large Language Model (LLM) applications. LangGraph builds upon its parent library, LangChain, and allows you to build sophisticated workflows that are capable of handling the complexities of real-world LLM applications.
By the end of this tutorial, you’ll understand that:
- You can use LangGraph to build LLM workflows by defining state graphs with nodes and edges.
- LangGraph expands LangChain’s capabilities by providing tools to build complex LLM workflows with state, conditional edges, and cycles.
- LLM agents in LangGraph autonomously process tasks using state graphs to make decisions and interact with tools or APIs.
- You can use LangGraph independently of LangChain, although they’re often used together to complement each other.
Explore the full tutorial to gain hands-on experience with LangGraph, including setting up workflows and building a LangGraph agent that can autonomously parse emails, send emails, and interact with API services.
While you’ll get a brief primer on LangChain in this tutorial, you’ll benefit from having prior knowledge of LangChain fundamentals. You’ll also want to ensure you have intermediate Python knowledge—specifically in object-oriented programming concepts like classes and methods.
Take the Quiz: Test your knowledge with our interactive “LangGraph: Build Stateful AI Agents in Python” quiz. You’ll receive a score upon completion to help you track your learning progress:
Interactive Quiz
LangGraph: Build Stateful AI Agents in Python
Take this quiz to test your understanding of LangGraph, a Python library designed for stateful, cyclic, and multi-actor Large Language Model (LLM) applications. By working through this quiz, you'll revisit how to build LLM workflows and agents in LangGraph.
Install LangGraph
LangGraph is available on PyPI, and you can install it with pip. Open a terminal or command prompt, create a new virtual environment, and then run the following command:
This command will install the latest version of LangGraph from PyPI onto your machine. To verify that the installation was successful, start a Python REPL and import LangGraph:
If the import runs without error, then you’ve successfully installed LangGraph. You’ll also need a few more libraries for this tutorial:
You’ll use langchain-openai to interact with OpenAI LLMs, but keep in mind that you can use any LLM provider you like with LangGraph and LangChain. You’ll use pydantic to validate the information your agent parses from emails.
Before moving forward, if you choose to use OpenAI, make sure you’re signed up for an OpenAI account and that you have a valid API key. You’ll need to set the following environment variable before running any examples in this tutorial:
Note that while LangGraph was made by the creators of LangChain, and the two libraries are highly compatible, it’s possible to use LangGraph without LangChain. However, it’s more common to use LangChain and LangGraph together, and you’ll see throughout this tutorial how they complement each other.
With that, you’ve installed all the dependencies you’ll need for this tutorial, and you’re ready to create your LangGraph email processor. Before diving in, you’ll take a brief detour to set up quick sanity tests for your app. Then, you’ll go through an overview of LangChain chains and explore LangGraph’s core concept—the state graph.
Create Test Cases
When developing AI applications, testing and performance tracking is crucial for understanding how your chain, graph, or agent performs in the real world. While performance tracking is out of scope for this tutorial, you’ll use several example emails to test your chains, graphs, and agent, and you’ll empirically inspect whether their outputs are correct.
To avoid redefining these examples each time, create the following Python file with example emails:
You can read through these right now if you want, but you’ll get links back to these test emails throughout the tutorial.
Work With State Graphs
As you might have inferred from the name, LangGraph is all about implementing LLM applications as directed graphs. You can think of a directed graph as a sequence of instructions composed of nodes and edges, that tell you how to complete a task. In LangGraph, nodes represent actions that your graph can take, such as calling a function, and edges tell you which node to go to next.
To understand this better, take a look at this directed graph:

This graph models what you might do when you eat a meal in a cafeteria. It consists of two actions represented by nodes: Buy Food and Eat Food. Once you’ve eaten, you ask yourself: Am I still hungry, or am I full?
The dotted arrows, which are edges, represent the answers to this question. If you’re still hungry, you buy more food and eat it. This cycle continues until you’re full, at which point you leave the cafeteria.
This simple example illustrates the essence of how LangGraph represents and implements LLM applications. In this tutorial, you’re going to step into the shoes of an AI engineer at a large real estate development firm and build a graph to process emails from regulatory agencies. Your graph will:
- Extract structured fields like dates, names, phone numbers, and locations from email messages
- Notify internal stakeholders if an email requires immediate escalation
- Create tickets with your company’s legal team using the information extracted from the email
- Forward and reply to emails that were sent to the wrong address
To understand why LangGraph is a great choice for building this type of application, you’ll begin by reviewing and building a LangChain chain, and you’ll see why chains can’t accomplish the tasks listed above.
LangChain Chains and Their Limitations
Suppose you work for a large real estate development company. Your company receives hundreds of emails a day from regulatory entities and other organizations regarding active construction sites. For instance, your company might receive a notice from an inspector saying that a construction site doesn’t comply with safety regulations.
Your job is to build a tool that can read these emails, extract critical information from them, and notify the correct internal team who will take action. The first step you’ll take to accomplish this is to build a LangChain chain that uses an LLM to extract structured fields from a regulatory notice email. You start by defining a Pydantic BaseModel that describes all the fields you want to extract from the email:
You first import all of the dependencies you’ll need to create your chain. Then, you define NoticeEmailExtract, which is a Pydantic BaseModel that provides type definitions and descriptions of each field you want to extract. Downstream, LangChain will pass the information in the NoticeEmailExtract definition to an LLM as raw text. The LLM will try to extract these fields from an email based on the type hints and description parameters in Field().
As an example, the LLM will try to identify and extract the project ID corresponding to the construction site discussed in the email. If successfully extracted, the LLM will return the project ID in a JSON object with an integer project_id entry. If it’s unable to extract a project ID, the project_id entry will be None.
You may have noticed that date_of_notice and compliance_deadline are Pydantic computed field properties that are derived from date_of_notice_str and compliance_deadline_str, respectively. Since OpenAI LLMs can’t natively extract fields as a date data type, the LLM first extracts dates as strings. Then, you use computed field properties to convert those strings to dates.
For example, the LLM extracts 2025-01-01 for date_of_notice_str. Your NoticeEmailExtract instance will convert this to a date object for January 1, 2025, and it will store this in a new field called date_of_notice.
Also, because exclude is True and repr is False in the definition of date_of_notice_str, you won’t see date_of_notice_str when you serialize or display NoticeEmailExtract. It will be as if the LLM extracted date_of_notice directly as a date.
Next, you create a chain to parse notice emails using NoticeEmailExtract:
You define info_parse_prompt to tell the LLM how it should behave and which tasks it should accomplish. In this case, you’re instructing it to extract structured fields from an email notice. The {message} parameter is a placeholder that will store the email you pass through the chain.
You then instantiate a ChatOpenAI model using gpt-4o-mini as the foundation model—you can experiment with different LLM providers and models here. Lastly, you instantiate NOTICE_PARSER_CHAIN using the LangChain Expression Language (LCEL).
This statement creates a chain that injects an email into the message parameter of info_parse_prompt. It then passes the output of info_parse_prompt to notice_parser_model. By calling .with_structured_output(NoticeEmailExtract), LangChain converts your NoticeEmailExtract base model to a prompt that tells the LLM to adhere its output to the schema defined by NoticeEmailExtract.
To bring this all together, open a Python interpreter and test NOTICE_PARSER_CHAIN on an example email notice:
Here, you import NOTICE_PARSER_CHAIN and pass EMAILS[0] to NOTICE_PARSER_CHAIN.invoke(). You can see that NOTICE_PARSER_CHAIN successfully parses the email and returns a NoticeEmailExtract. It’s pretty awesome that NOTICE_PARSER_CHAIN, and specifically gpt-4o-mini, pulled these fields out of raw text. Think about how difficult it would be to write logic to do this without an LLM!
You’ll see that date_of_notice and compliance_deadline are date objects, and date_of_notice_str and compliance_deadline_str aren’t displayed. This shows that the LLM successfully extracted the two dates as strings and your computed field properties converted them to date objects.
Not only did NOTICE_PARSER_CHAIN extract these fields, it did so with high accuracy. For example, NOTICE_PARSER_CHAIN extracted the date the notice was received, the entity that sent it, and even the maximum potential fine for non-compliance. Notice how all of the extracted fields are the correct data type that you specified when defining NoticeEmailExtract—all of this without having to write a single line of type conversion logic.
Next, you’ll build another chain that you’ll use throughout this tutorial. This chain will check whether the email notice requires escalation within the company based on a text description of what constitutes escalation. For example, you might want to escalate a message if employees are in danger, or if the notice warns about a fine above a specified threshold. Here’s what the escalation chain looks like:
In this block, you define ESCALATION_CHECK_CHAIN, which accepts a message and escalation_criteria as parameters and returns a BaseModel with a Boolean attribute called needs_escalation. You’ll use this chain to check whether the message requires escalation using escalation_criteria as the criteria. If message does require escalation, ESCALATION_CHECK_CHAIN.invoke() returns an EscalationCheck instance with needs_escalation set to True.
Here’s what ESCALATION_CHECK_CHAIN looks like in action:
You first import ESCALATION_CHECK_CHAIN and define the escalation criteria. Any messages that mention water damage require escalation. The first message mentions water leaks, and ESCALATION_CHECK_CHAIN correctly identifies that this meets the criteria and returns EscalationCheck(needs_escalation=True). The second message doesn’t mention water damage, and ESCALATION_CHECK_CHAIN returns EscalationCheck(needs_escalation=False).
You now have the first two components of your email parsing system built, but in isolation, NOTICE_PARSER_CHAIN and ESCALATION_CHECK_CHAIN don’t exactly solve your problems. You want your system to take different actions depending on whether the email requires escalation. You also might want to check if the email even comes from a regulatory body, and forward it to the correct department if it doesn’t.
This is where chains reach their limit. They’re not designed to handle state or make conditional decisions, such as determining which action to take if an email requires escalation. To tackle more complex tasks, you’ll need more than a stateless chain that passes data linearly from one step to the next. This is where LangGraph’s core object—the state graph—comes in to help.
Build Your First State Graph
Now that you’ve built the notice parsing and escalation check chains, you need to orchestrate them and add additional functionality that your company requires to process notice emails. To do this, you’ll use LangGraph’s StateGraph to create a graph that builds upon NOTICE_PARSER_CHAIN and ESCALATION_CHECK_CHAIN. Before getting started, you’ll want to initialize a logger that you’ll use throughout this tutorial:
Here, you initialize a standard logger that displays informational messages from all libraries besides httpx. For httpx, you’ll only show warnings. This will keep your logs clean later on in the tutorial.
Now you can initialize your first graph:
You first import dependencies. Notice that you import the chains you built previously. You then define GraphState—a typed dictionary that defines the information each node in your graph updates and passes to the next node. Note that by inheriting from TypedDict, LangGraph ensures each field in GraphState has the correct type when populated. Here’s what each field in GraphState stores:
notice_message: The notice email that you want to parse and process.notice_email_extract: ANoticeEmailExtractinstance, which is the output of runningnotice_messagethroughNOTICE_PARSER_CHAIN. When you initialize the graph,notice_email_extractisNone.escalation_text_critera: A text description of how to determine whether an email notice requires immediate escalation.escalation_dollar_criteria: A threshold for the smallest maximum potential fine used to determine whether escalation is needed.requires_escalation: A Boolean indicating whether the notice requires escalation.escalation_emails: A list of email addresses to notify if escalation is required.follow_ups: A dictionary that stores follow-up questions that your graph needs to answer about the notice message before creating a legal ticket. You’ll learn more about this in the next section.current_follow_up: The current follow-up question your graph needs to answer.
You then initialize a StateGraph instance, passing GraphState as an argument, and assign it to the variable workflow. At this point, workflow is an empty graph that can’t do anything. To make workflow functional, you need to add nodes and edges. In LangGraph, a node represents an action that your graph can take, and every action is defined by a function.
For example, you can use NOTICE_PARSER_CHAIN and ESCALATION_CHECK_CHAIN as the first nodes in your graph:
Here, you define parse_notice_message_node()—a function that accepts your GraphState instance, runs the notice_message attribute of state through NOTICE_PARSER_CHAIN.invoke(), stores the results in the state, and returns the state. In general, all node functions accept the graph state, perform some action, update the graph state, and return the graph state.
Similarly, check_escalation_status_node() passes the escalation_text_criteria and notice_message from state through ESCALATION_CHECK_CHAIN.invoke(). If the chain determines that escalation is required, or the extracted max_potential_fine is greater than state["escalation_dollar_criteria"], the requires_escalation attribute is set to True.
You then add the nodes to your graph with workflow.add_node(), which is a method that accepts the name of your node and the function that determines what your node does. For example, workflow.add_node("parse_notice_message", parse_notice_message_node) assigns parse_notice_message_node() to a graph node called parse_notice_message. The graph passes state to parse_notice_message_node() and stores the output in an updated state.
The next thing you need to do is add edges to your graph. Edges control the flow of data between nodes in your graph. Said differently, after a node performs an action and updates your graph’s state, the edge flowing out of the node tells it which node to pass state to next. Here’s how you add edges to your graph:
You call workflow.add_edge(), which accepts the names of the start and end nodes of the edge, respectively. START is a predefined node representing the entry point of the graph, and END is the node that terminates the graph. Here’s what each edge definition does:
- On line 3, you add an edge from
STARTto theparse_notice_messagenode. - Then, line 4 adds an edge from
parse_notice_messagetocheck_escalation_status. - Lastly, line 5 adds an edge to terminate the graph after running
check_escalation_status.
You can now compile your graph by running workflow.compile(), which creates a Runnable interface that can be invoked, streamed, batched, and run asynchronously just like chains.
To visualize your graph, open another Python REPL and run the following:
Here, you import NOTICE_EXTRACTION_GRAPH and use .get_graph().draw_mermaid_png() to create an image of your graph. You then save the image to a file called notice_extraction_graph.png. Here’s what the image should look like:

This visual shows you that state flows from parse_notice_message to check_escalation_status, and it confirms that you’ve built your graph correctly. Here’s how you use your graph:
In this example, you import NOTICE_EXTRACTION_GRAPH and EMAILS. You then define your graph’s initial state with EMAILS[0] as the notice_message, escalation criteria, and a few other fields that you’ll use later in this tutorial. After calling NOTICE_EXTRACTION_GRAPH.invoke(initial_state), your final_state stores the extracted notice fields along with the requires_escalation flag.
Notice that in final_state, notice_email_extract is now a NoticeEmailExtract object. Also, requires_escalation is set to False because EMAILS[0] doesn’t say anything about fire or water damage, and the maximum potential fine is less than $100,000.
With that, you’ve built and successfully run your first state graph! If you’re thinking that this graph isn’t any more useful than a chain at this point, you’re correct. In the next section, you’ll address this by learning about and implementing LangGraph’s differentiating feature—conditional edges.
Work With Conditional Edges
LangGraph is all about modeling LLM workflows as graphs with nodes and edges. Nodes represent actions that your graph can take like calling functions or invoking chains, and edges tell your graph how to navigate between nodes.
So far, you’ve built a graph with a couple of nodes and edges between them that can’t do much more than a chain. In this section, you’ll learn about conditional edges, which you can use to move beyond chain-like structures to create intricate, conditional, and even cyclic workflows.
Create a Conditional Edge
Up to this point, your graph can extract notice fields using NOTICE_PARSER_CHAIN and determine whether the notice message requires immediate escalation using ESCALATION_CHECK_CHAIN.
Next, you’ll see how to change the path your graph takes depending on whether a notice message requires escalation. If a notice message does require escalation, your graph will immediately send an email informing the correct team. If escalation isn’t required, your graph will create a legal ticket using your company’s ticketing system API.
You’ll start by defining a function that sends emails regarding the details of a notice message when the notice requires escalation. Here’s what that looks like:
Here, you import dependencies and create a function called send_escalation_email(), which accepts a NoticeEmailExtract and a list of addresses to send emails to. Since actually sending emails is beyond the scope of this tutorial, send_escalation_email() simply simulates the process. For now, imagine that it sends an email to each address in escalation_emails regarding the details stored in NoticeEmailExtract.
You then define create_legal_ticket() to simulate creating a ticket for your company’s legal team to investigate. Notice how the first argument to create_legal_ticket() is a dictionary with string keys and Boolean values called current_follow_ups.
One feature of your legal team’s ticketing system API is that it occasionally requires you to answer yes/no follow-up questions. These questions can change at any time depending on what the legal team is interested in knowing, so it’s difficult to know what the follow-up questions might be ahead of time.
To simulate this logic, create_legal_ticket() checks the follow-up questions that you’ve already answered, and it randomly picks a new follow-up question from the remaining questions. If follow-up isn’t required, create_legal_ticket() creates a legal ticket and returns None. If follow-up is required, create_legal_ticket() returns the follow-up question, and you’ll see how to handle this in your graph later on.
Next, you’ll wrap send_escalation_email() and create_legal_ticket() in nodes that can interact with your graph’s state:
After importing your utility functions, you define two new node functions. In send_escalation_email_node(), you call send_escalation_email() without modifying state. Conversely, in create_legal_ticket_node(), you call create_legal_ticket() and store the follow_up question, if there is one, in state.
Now onto the critical part of this section. You need to create a conditional edge based on whether a notice email requires escalation. Specifically, if a notice email does require escalation, then your graph needs to pass state to send_escalation_email_node() before creating a legal ticket. If no escalation is required, then your graph can move directly to create_legal_ticket_node().
Here’s how you can create this behavior in your graph:
You first define route_escalation_status_edge(), which is a function that governs the behavior of your conditional edge. Depending on whether the notice requires escalation, route_escalation_status_edge() returns a string that indicates which node to navigate to next. After registering the send_escalation_email and create_legal_ticket nodes in lines 15 to 16, you register a conditional edge using workflow.add_conditional_edge() in lines 20 to 27.
In workflow.add_conditional_edge(), the first argument tells your graph which node the edge starts from, which in this case is check_escalation_status. The second argument is the function that governs the behavior of the conditional edge, and the third argument is a mapping that tells your graph which node to go to based on the output of the conditional edge function.
For example, if route_escalation_status_edge() returns send_escalation_email, your graph will invoke the send_escalation_email node.
Lastly, you add edges from send_escalation_email to create_legal_ticket and from create_legal_ticket to END, and you compile your graph. Here’s what your graph looks like now:

You now see dotted lines representing the conditional edge flowing out of check_escalation_status into send_escalation_email and create_legal_ticket. As expected, if escalation is needed, your graph goes to send_escalation_email before create_legal_ticket. Otherwise, your graph flows directly to create_legal_ticket.
To see your conditional edge in action, try this example:
In this block, you use the same EMAILS[0] from the previous section and create two initial states: initial_state_no_escalation and initial_state_escalation. You expect initial_state_no_escalation not to require escalation because EMAILS[0] doesn’t mention anything about water damage. On the other hand, initial_state_escalation should require escalation because the workers are violating safety protocols by not wearing PPE.
Exactly as expected, you can see from the logs that NOTICE_EXTRACTION_GRAPH.invoke(initial_state_escalation) requires escalation, and your graph sends emails to the addresses listed in state["escalation_emails"] before creating a legal ticket. Compare this to NOTICE_EXTRACTION_GRAPH.invoke(initial_state_no_escalation), which moves directly to creating a legal ticket without sending escalation emails.
Your graph now moves beyond the limitations of chains by handling conditional workflows. Take a moment to think about why the conditional edge abstraction is so powerful. Most meaningful real-world tasks involve several decisions that change the trajectory of steps you take. Trying to replicate this behavior with chains would require a lot of boilerplate conditional and iterative logic, and it would quickly get out of hand as your graph grows.
Now what about those follow-up questions? If the legal ticketing API returns a follow-up question, how can you answer it and attempt to create a legal ticket again? The answer lies in cycles, and that’s what you’ll explore next.
Use Conditional Edges for Cycles
The last capability you’ll explore for your notice extraction graph is a cycle. A graph cycle is effectively a loop between two nodes that continues until a task is complete. In this section, you’ll build a cycle between the node that creates legal tickets and a new node that answers the follow-up questions.
If you recall from the last section, sometimes the legal ticketing API returns follow-up questions that you’re required to answer before creating the ticket. You want to build a cycle that receives and answers the follow-up questions from the legal ticket node until no other follow-up questions are required. To keep things simple for this tutorial, these questions will always have binary yes or no answers.
First, create a chain that you’ll use to answer binary questions:
This BINARY_QUESTION_CHAIN is similar to the chains you built previously. It accepts a question as input and outputs True if the answer to the question is yes, and False if the answer is no. Of course, this chain could give strange results for questions that don’t have yes/no answers, but you could modify it to return None or to answer arbitrary questions with a text response.
Next, you’ll create a node in your graph that uses BINARY_QUESTION_CHAIN to answer follow-up questions:
In answer_follow_up_question_node(), you check if there’s a follow-up question in state. If there is, you pass the question, along with this notice message, through BINARY_QUESTION_CHAIN.invoke(). You then store the answer as an entry to the state["follow_ups"] dictionary.
Now you need to create a function to define the conditional edge between the create legal ticket and answer follow-up question nodes:
In route_follow_up_edge(), if there’s a follow-up question in state, then you navigate to answer_follow_up_question. If not, then you exit the graph. Now, you can register your new node and create the conditional edge:
Here, you add the answer_follow_up_question node and define the conditional edge that starts from create_legal_ticket, and flows to either answer_follow_up_question or END. Notice that you also add an edge from answer_follow_up_question back to create_legal_ticket, which completes the cycle. To make more sense of this, take a look at the updated visualization of your graph:

Your graph has come a long way from where it started! Notice the dotted arrows representing conditional edges coming out of create_legal_ticket. Additionally, there’s an edge flowing back into create_legal_ticket from answer_follow_up_question. This creates a cycle because create_legal_ticket will continue to pass state to answer_follow_up_question until all follow-up questions are answered. When no follow-ups remain, the graph exits.
Go ahead and give your updated graph a test run:
Here, you import NOTICE_EXTRACTION_GRAPH and the example emails. Recall that one of the follow-up questions in create_legal_ticket() is: “Does this message mention the states of Texas, Georgia, or New Jersey?” Therefore, if create_legal_ticket() requires you to answer that question, the answer should be True since EMAILS[0] mentions Dallas, Texas.
In the example above, when you run EMAILS[0] through your graph, you see from the logs that create_legal_ticket() requires your graph to answer both follow-up questions before creating the ticket. Keep in mind that it might take you a few tries to replicate this example since create_legal_ticket() randomly selects between two questions and None. From results["follow_ups"], you see that BINARY_QUESTION_CHAIN correctly answered the questions.
With that, you’ve completed your notice email processing graph. Nice work! Hopefully, you’re seeing the power of LangGraph to create sophisticated, conditional, and cyclic LLM workflows. From here, you can continue adding any functionality that you can imagine by creating nodes to accomplish tasks and adding edges to navigate between them.
In the next and final section, you’ll add some nice finishing touches to your notice email processing graph. You’ll use LangGraph to create an agent that can handle any kind of email and use NOTICE_EXTRACTION_GRAPH as one of its tools.
Develop Graph Agents
Now it’s time to complete your email-parsing system by creating an agent with LangGraph. If you’re unfamiliar with agents, you can read about them in the LangChain tutorial. In short, an AI agent is a system of AI models, usually LLMs, capable of performing tasks and making decisions autonomously.
The two main components of an agent are:
- The models that make decisions
- The tools the models use to perform actions
LangGraph was designed with agents in mind because agent architectures tend to be conditional and cyclic in nature. The agent you’ll create in this section will govern email processing, and it will have access to tools that can send emails and call NOTICE_EXTRACTION_GRAPH when it determines that an email is a regulatory notice.
Structure Agents as Graphs
To get started building your email processing agent, first import the following dependencies:
Most of these imports should look familiar, but notice that you’ve imported MessagesState instead of GraphState. MessagesState is a predefined GraphState that has only one attribute called messages. Each node in your agent graph will append its output to messages in MessagesState. MessagesState comes with some nice features that make creating agents easier, and you’ll see these in a moment.
Also, notice that you’ve imported the ToolNode class from langgraph.prebuilt. ToolNode allows you to create nodes in your graph explicitly designed for providing tools to agent nodes. In both LangChain and LangGraph, a tool is nothing more than a function your agent models can call to perform actions. Here are the tools you’ll need for your email agent:
The functions you defined above are the tools your agent will use, and each function is decorated by @tool. A key functionality of @tool is that it gives the function’s docstring to your agent’s LLM, helping it determine whether that particular tool is relevant to the task at hand. Because of this, it’s important to write informative docstrings to maximize the chances that your agent uses the appropriate tools.
As an example of how your agent will use these tools, if the agent determines that it needs to forward an email, the agent’s underlying LLM will return a JSON string with the appropriate email_message and send_to_email parameters. Your graph will convert this JSON to a dictionary and pass it to forward_email().
Perhaps the most powerful tool available to your agent is extract_notice_data(). Your agent should call extract_notice_data() when it determines that an email is a regulatory notice, and invoke your NOTICE_EXTRACTION_GRAPH. This is an amazing abstraction—because tools are nothing more than functions, you can use them to call other chains, graphs, and agents, and perform just about any task that you can encapsulate in a function.
The last tool you define, determine_email_action(), should be used when your agent receives an email that it doesn’t know how to process. In determine_email_action(), you can see that a set of instructions are predefined, but this tool could be another LLM trained to make decisions about what to do with your company’s emails.
Next, you need to define the nodes and edges of your agent graph:
You first instantiate a ToolNode that can call the four tool functions you defined above. Keep in mind that tool_node only executes your tool functions, and knowing which tool to use is the agent node’s responsibility. You then instantiate EMAIL_AGENT_MODEL, which is the LLM that acts as your agent’s brain.
By calling .bind_tools() when instantiating EMAIL_AGENT_MODEL, you’re giving the agent LLM descriptions of each tool from their docstring and input arguments. If your agent LLM determines that its input requires a tool call, it’ll return a JSON tool message with the name of the tool it wants to use, along with the input arguments.
In call_agent_model_node(), you define the logic for invoking EMAIL_AGENT_MODEL. In this case, your email agent node simply takes the messages in state and passes them to EMAIL_AGENT_MODEL.invoke(). You might notice here that you’re not directly modifying the state in call_agent_model_node(), but under the hood, LangGraph will automatically append response to your graph’s state. You can read more about how this works in LangGraph’s documentation.
Lastly, you define route_agent_graph_edge(), which governs the conditional edge between your agent and tool nodes. If the most recent message in state is a tool, your graph moves to tool_node which is aliased to email_tools. Otherwise, you terminate the graph. This will make more sense once you instantiate and visualize your graph. Here’s the last few lines you need for your graph agent:
You first instantiate workflow—a StateGraph that passes around a MessageState object. Then, you add the email_agent and email_tool nodes to your graph and create the edges between them. The first edge moves from START to email_agent where email_agent will process the first message in your graph. In this case, the first message will be an email. You then add the conditional edge between email_agent, email_tools, and END.
As specified in route_agent_graph_edge(), if the email_agent node returns a tool message, your graph moves to the email_tools node to call the respective tool. The last edge you define connects email_tools back to email_agent, creating a cycle between the two. This means that the email_agent and email_tools nodes will continuously pass information back and forth until email_agent returns a non-tool message.
Zooming out, here’s what your email agent looks like:

This architecture, while straightforward, is very common and a great place to start when building agents. The general idea is that your email_agent will accept an email message and continually call email_tools until it believes it has successfully processed the email. From here, you can continue expanding your agent’s capabilities. The last thing to do now is give your agent a try and see how it performs on a few examples.
Test Your Graph Agent
Your email graph agent is complete and ready for you to test! In practice, it’s a good idea to test your agents on several examples where you know what the desired behavior should be. This way, you can measure your agent’s performance and adjust its architecture and prompts to improve it. However, for this tutorial, you’ll just empirically inspect how your agent responds to the example emails you defined earlier.
Given these four emails, here’s how you might expect your agent to respond to each:
-
Email 0: This email is clearly a regulatory notice, and your agent should call your notice extraction graph. Since you’ve used this example several times now, you’ll skip it for this section.
-
Email 1: This email looks like it’s an invoice that doesn’t come from any kind of regulatory body or inspector. Your email agent should forward this to the billing department and send an email to
debby@stack.com, informing her that she has the wrong email address. -
Email 2: This email comes from a customer that’s having issues with equipment your company installed. Your agent should forward it to customer support, and it should send an email back to
tdavid@companyxyz.comtelling him that he has the wrong address. -
Email 3: This email is clearly a regulatory notice, and your agent should call your notice extraction graph.
To see how your agent does, open a Python REPL and try it out on the first example email:
Here, you import email_agent_graph along with the example emails. You then run the first email through email_agent_graph.stream(), which returns messages from your agent as they’re received.
Here’s what happens:
- Your agent calls
determine_email_action()to get instructions. - Based on these instructions, your agent forwards the email to
billing@company.com. - It also sends a wrong email notification to debby@stack.com.
Your agent behaved exactly like you wanted it to!
Now try your agent on the next email:
For the second email, here’s what happens:
- Your agent recognizes that it comes from a customer and successfully forwards it to the three customer support emails listed in the instructions.
- It then sends a wrong email notification back to
tdavid@companyxyz.com. - This means your agent made a total of five tool calls before terminating the graph—it determined the email action, forwarded the email to three different addresses, and sent a wrong email notification.
Now for the last example email:
Here’s what happens for this one:
- You first define
escalation_criteriaand create a message that includesescalation_criteriawith the email message. - Your agent successfully recognizes that this is a notice email, and it calls the
extract_notice_datatool. - This invokes your notice extraction graph, which successfully parses the notice and identifies that it requires escalation.
Your agent worked end-to-end on all three examples, and the results are awesome!
Keep in mind that you might not get the exact same results as above given that LLM outputs aren’t deterministic, but your results should be very similar. You now have the tools—no pun intended—needed to build your own LangGraph agents!
Conclusion
Congratulations on completing this in-depth tutorial! You successfully built an LLM agent in LangGraph and now have a solid foundation to build your own applications.
In this tutorial, you’ve learned how to:
- Think about LangGraph as a complement to LangChain for building sophisticated LLM workflows
- Build LangGraph StateGraph workflows with conditional edges and cycles
- Build LangGraph LLM agents
You can find the complete source code and data for this project in the supporting materials, which you can download using the link below:
Frequently Asked Questions
Now that you have some experience with LangGraph, you can use the questions and answers below to check your understanding and recap what you’ve learned.
These FAQs are related to the most important concepts you’ve covered in this tutorial. Click the Show/Hide toggle beside each question to reveal the answer.
LangGraph is a Python library that helps you build stateful, cyclic, and multi-actor workflows for Large Language Model (LLM) applications, expanding upon LangChain’s capabilities.
LangGraph builds on LangChain by providing tools to create complex workflows with state management, conditional logic, and cycles, making it ideal for handling real-world LLM application complexities.
Yes, you can use LangGraph without LangChain, although they’re highly compatible and often used together to leverage LangChain’s foundational structures with LangGraph’s advanced capabilities.
A state graph in LangGraph is a directed graph representation of LLM workflows, where nodes represent actions like function calls, and edges dictate the workflow’s sequence, enabling conditional and cyclic operations.
You create conditional workflows in LangGraph by using conditional edges, which allow you to define different paths based on the evaluation of conditions within your graph’s state.
You create a conditional edge by defining a function that determines the next node based on the current state. You then register this function with workflow.add_conditional_edges() to conditionally control the graph’s flow.
A LangGraph agent consists of an LLM for decision-making and a set of tools for performing tasks. The agent’s architecture is often cyclic and conditional, allowing it to autonomously process and act on input data.
Take the Quiz: Test your knowledge with our interactive “LangGraph: Build Stateful AI Agents in Python” quiz. You’ll receive a score upon completion to help you track your learning progress:
Interactive Quiz
LangGraph: Build Stateful AI Agents in Python
Take this quiz to test your understanding of LangGraph, a Python library designed for stateful, cyclic, and multi-actor Large Language Model (LLM) applications. By working through this quiz, you'll revisit how to build LLM workflows and agents in LangGraph.